Why Sealant Fails
Peeling, splitting, mold. Diagnose the cause, fix it for good.
What You'll Need
Sealant pulling away from the surface (adhesion failure)
This is the most common failure. You'll see the sealant bead cleanly separating from one or both sides of the joint, with the sealant itself still intact. The cause is almost always poor surface preparation. Dust, oil, soap residue, moisture, or old sealant residue prevented the bond from forming properly. Sometimes the sealant was incompatible with the substrate, or curing happened too fast in hot, dry conditions before the product could wet out on the surface. To fix it: remove the failed sealant completely, clean both surfaces with isopropyl alcohol, let them dry, then reapply. If the substrate is porous, use a primer this time.
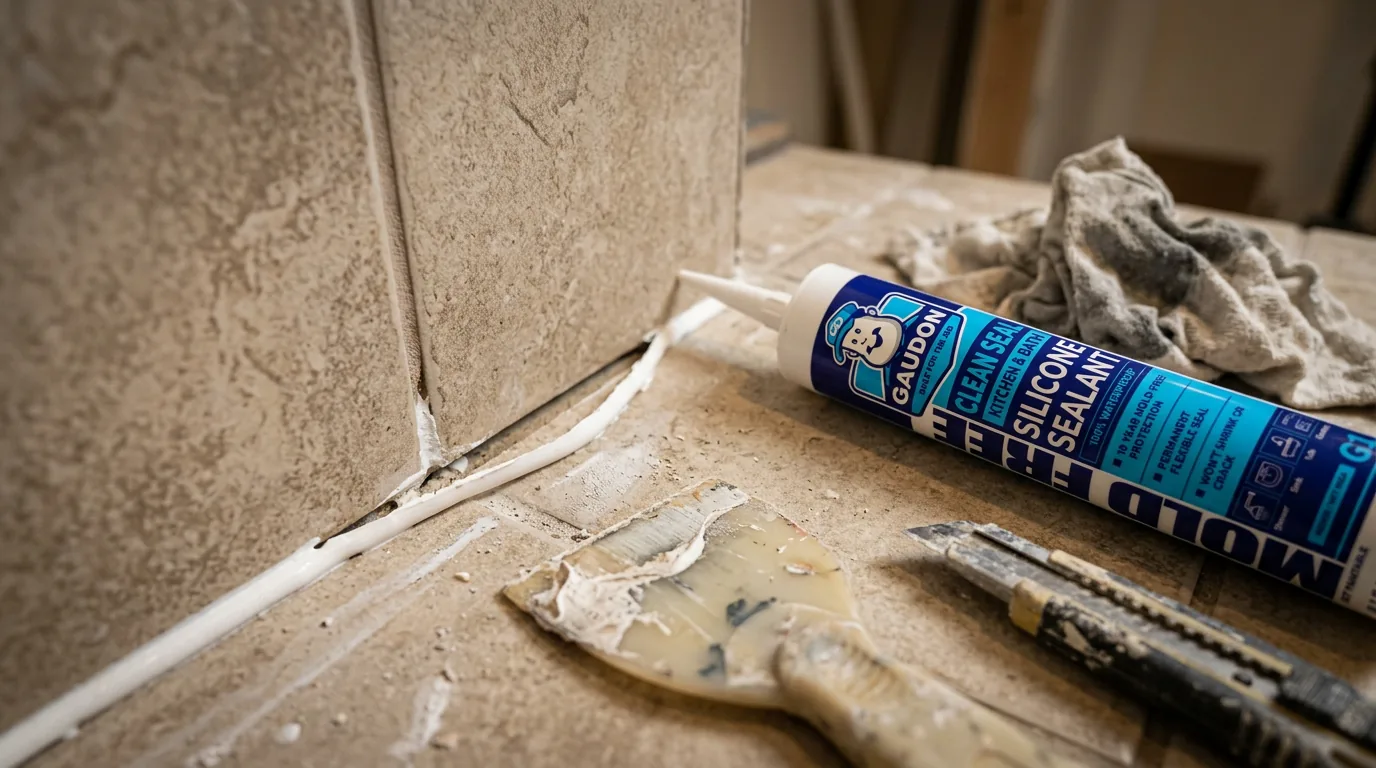
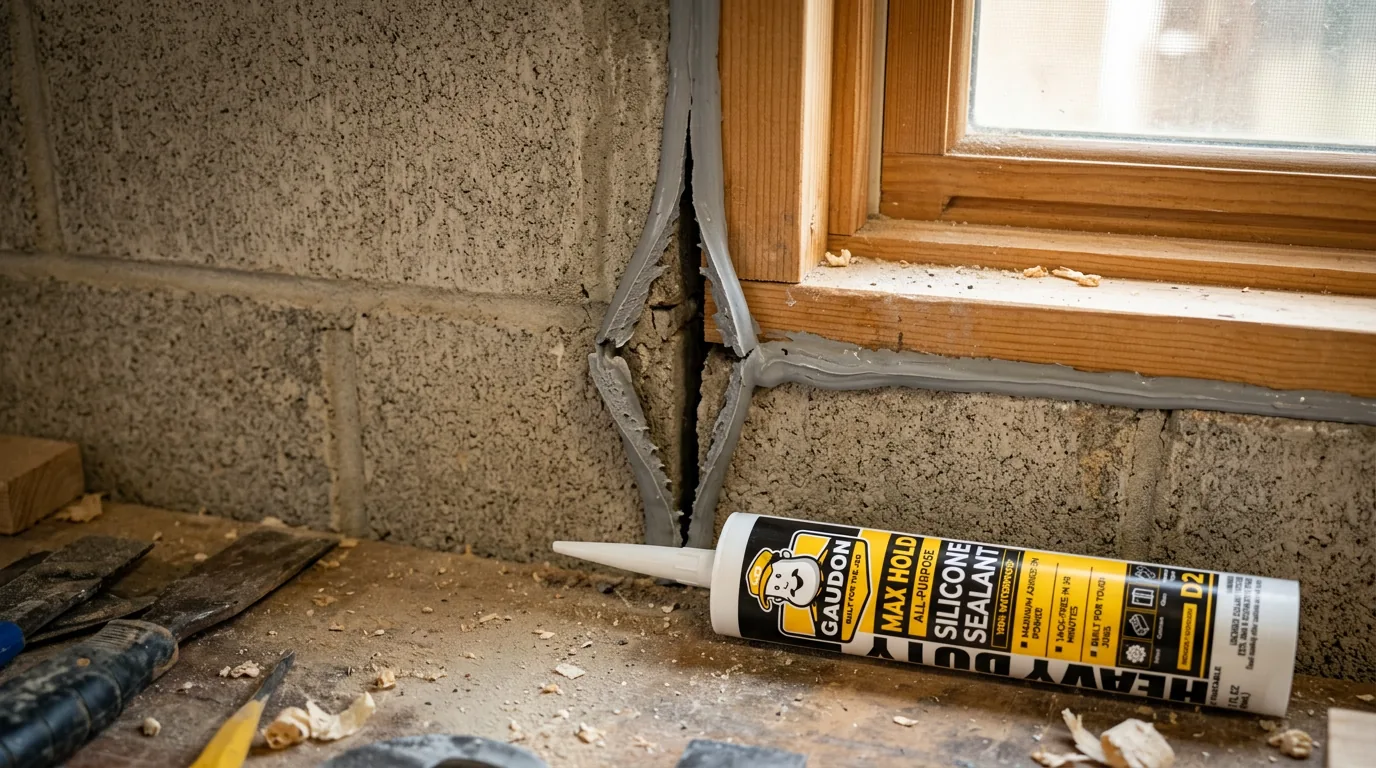
Sealant splitting down the middle (cohesion failure)
If the bead tore or split through the center rather than pulling away from the edges, the sealant itself couldn't handle the stress. This usually means the joint moved more than the product was designed for, or the bead geometry was wrong. When a bead is too thin or the depth-to-width ratio is off, the sealant gets stretched beyond its capacity. To fix it: remove the old material, assess whether you need a higher-movement sealant, and use a backer rod to control the bead depth. Aim for a width-to-depth ratio of 2:1.
Pro Tip
If the same joint keeps failing in the same way, the problem is the product specification, not the installer. Step up to a sealant rated for higher movement.
Mold and mildew growing on the sealant
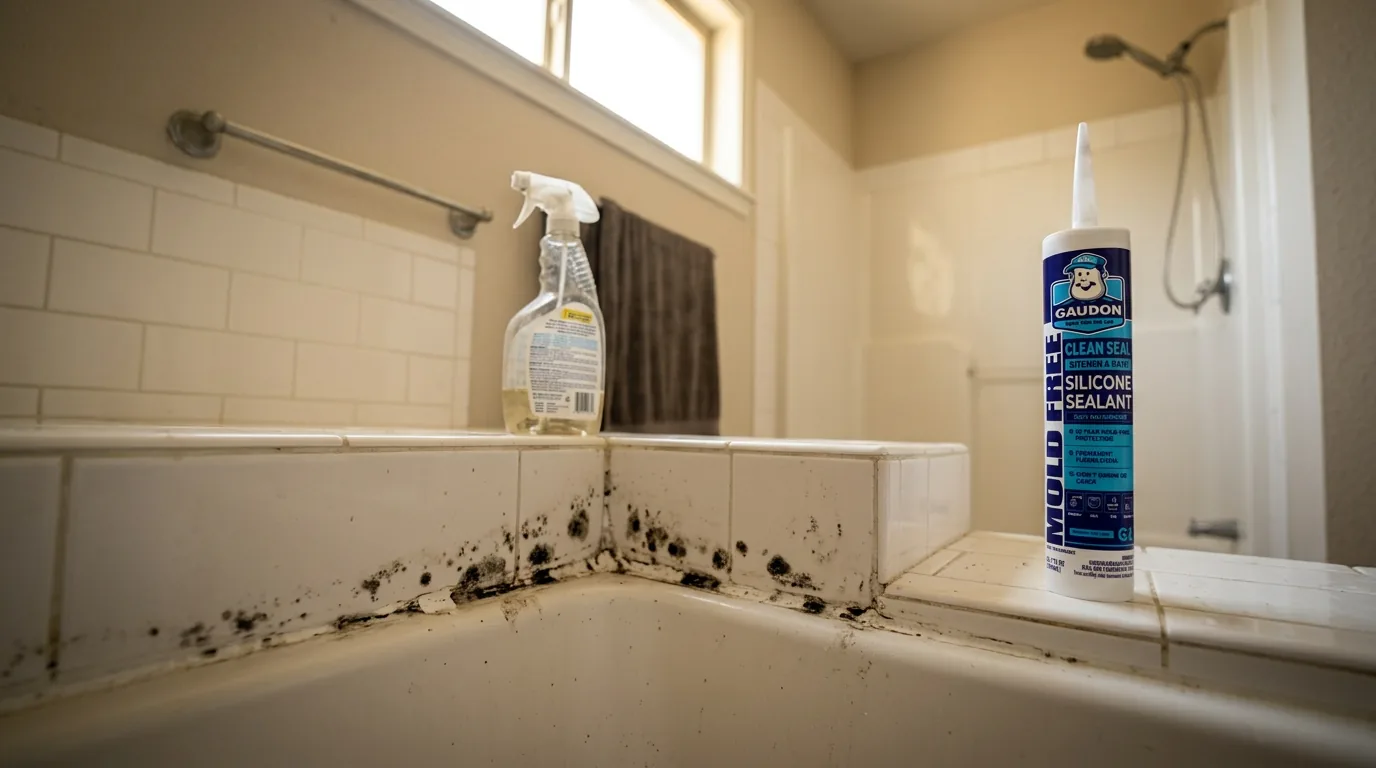
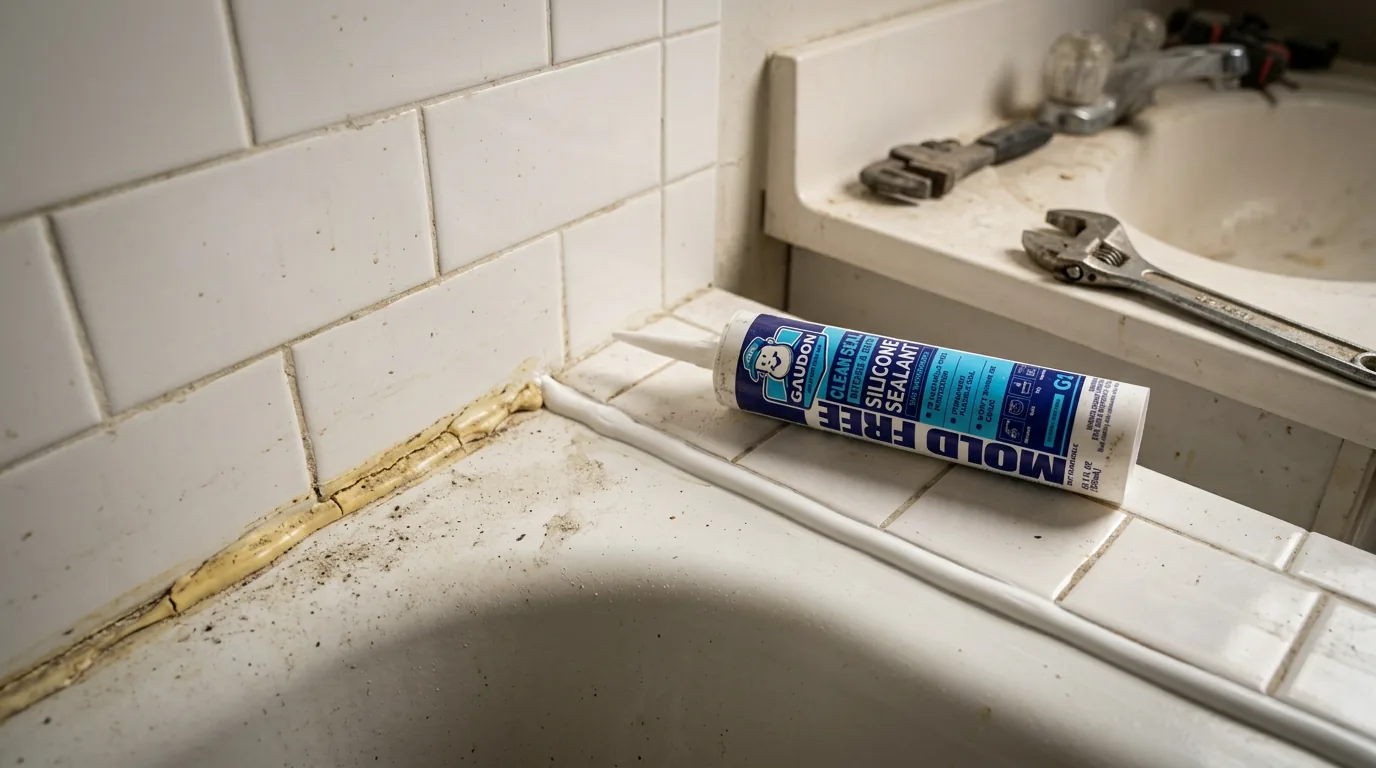
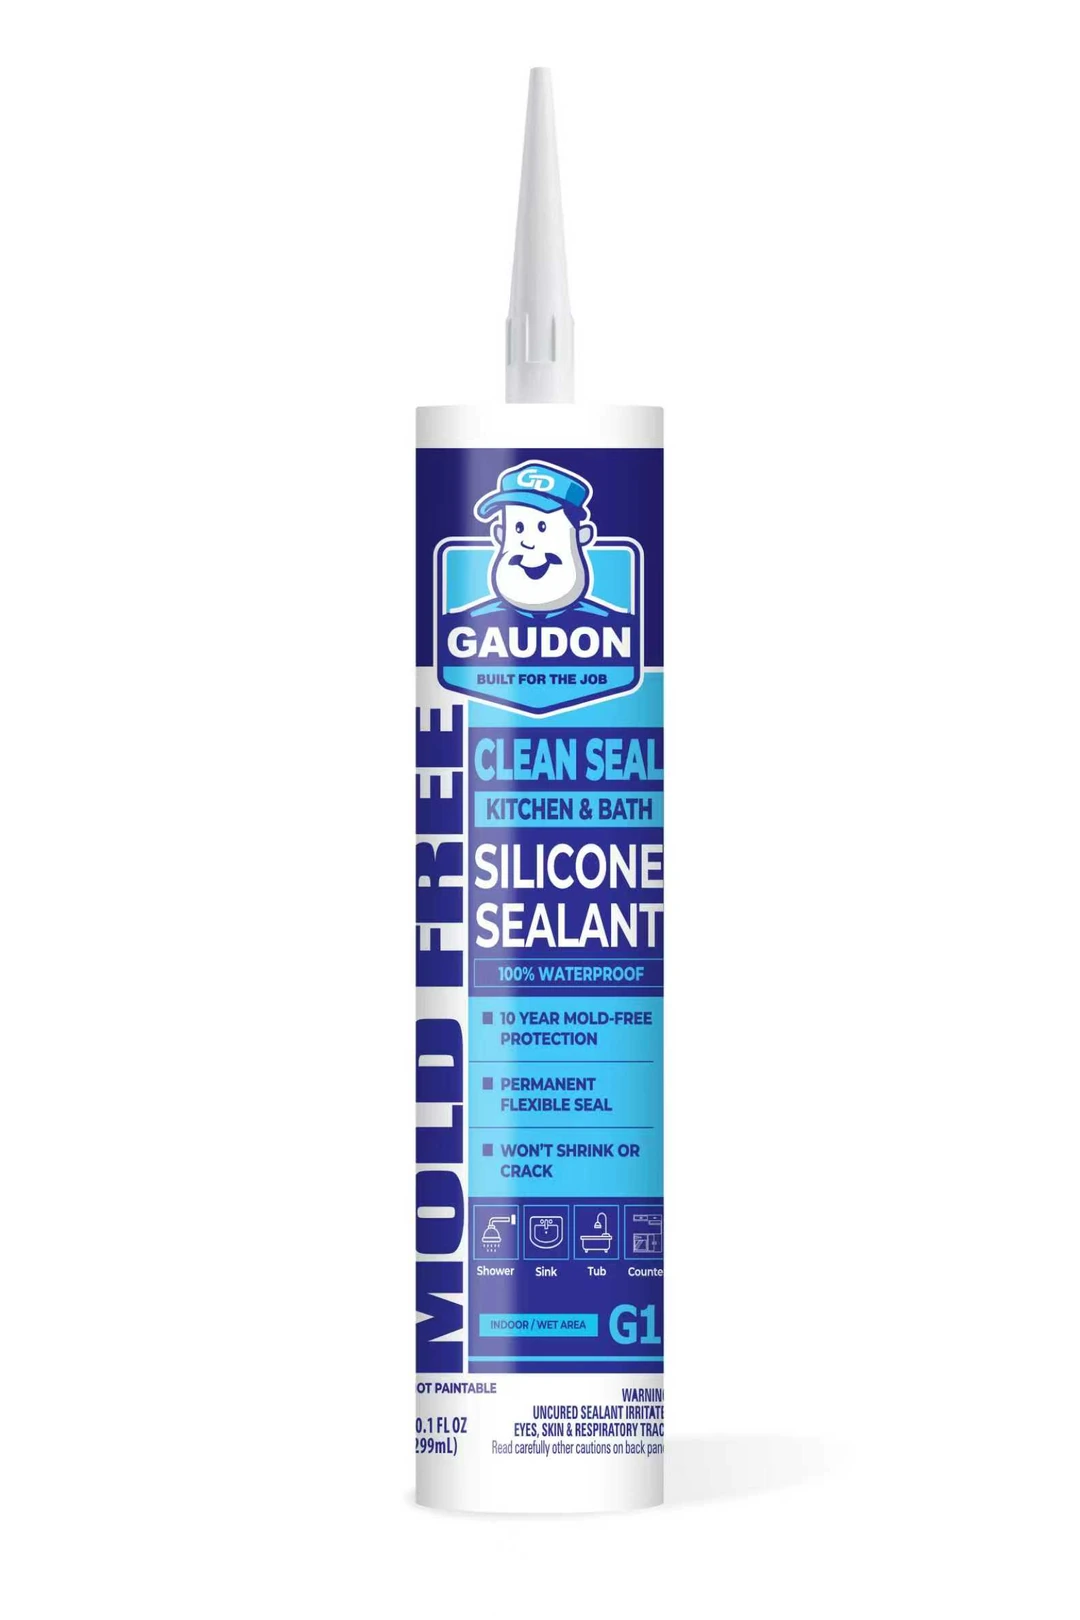
Dark spots on sealant in bathrooms and kitchens are mold colonies feeding on soap scum, body oils, and moisture that accumulate on the surface. Some sealants include fungicide additives that resist mold growth, but those additives can deplete over time. If you used a non-mildew-resistant sealant in a wet area, that's the root cause. Surface mold can sometimes be cleaned with a bleach solution (1 part bleach to 10 parts water), but if the mold has grown behind or into the sealant, the only real fix is to remove it and replace with a product rated for wet areas. The GAUDON G1 has built-in mildew resistance for exactly this situation.
Cracking or hardening over time
Sealant that has turned brittle and cracked has lost its flexibility. Silicone sealants rarely do this on their own since they stay flexible for decades. If silicone cracked, it was likely exposed to conditions outside its rated range, or it was a poor-quality product with high filler content. Acrylic sealants are more prone to this, especially outdoors where UV and temperature cycling break down the polymer over time. The fix is straightforward: remove the old material and replace with a product rated for the exposure conditions. For outdoor joints that get full sun, use a UV-resistant silicone rather than acrylic.
Sealant not curing or staying tacky
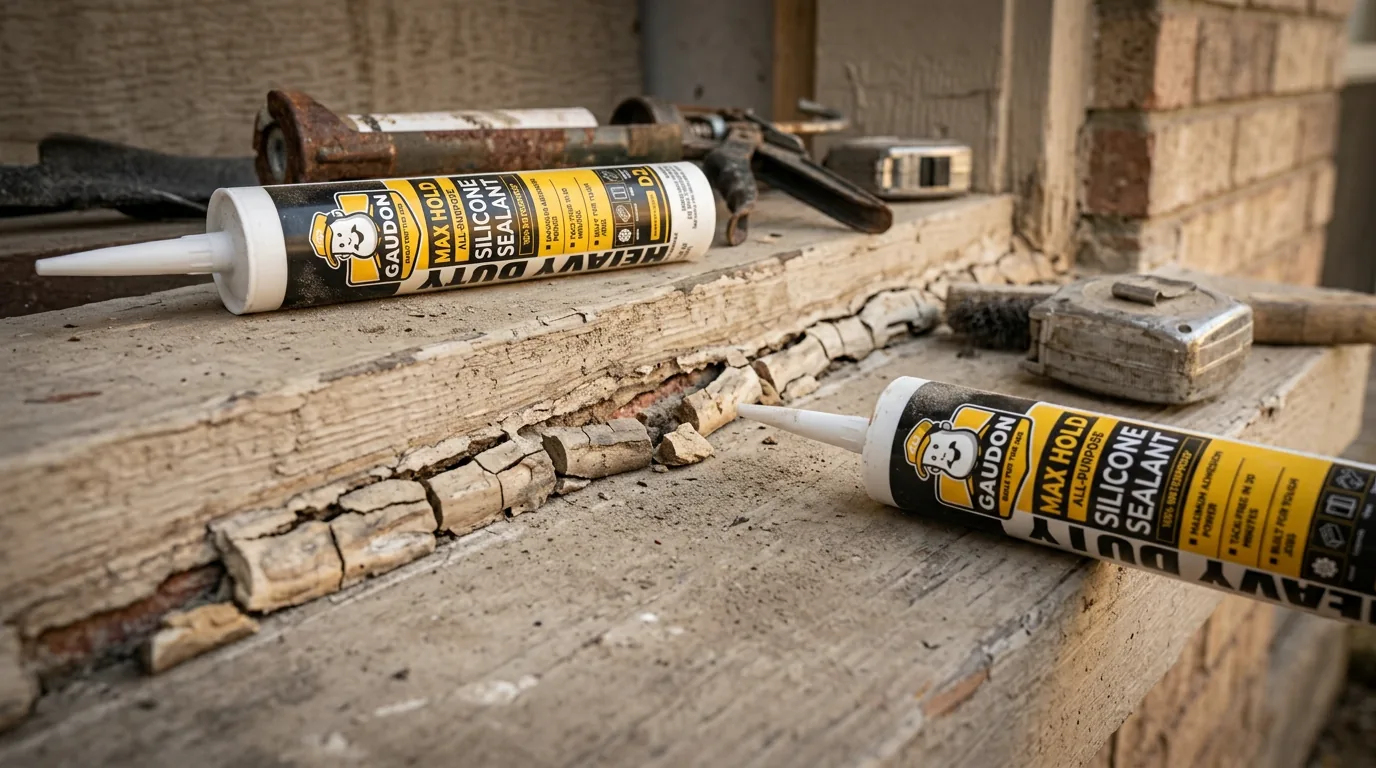
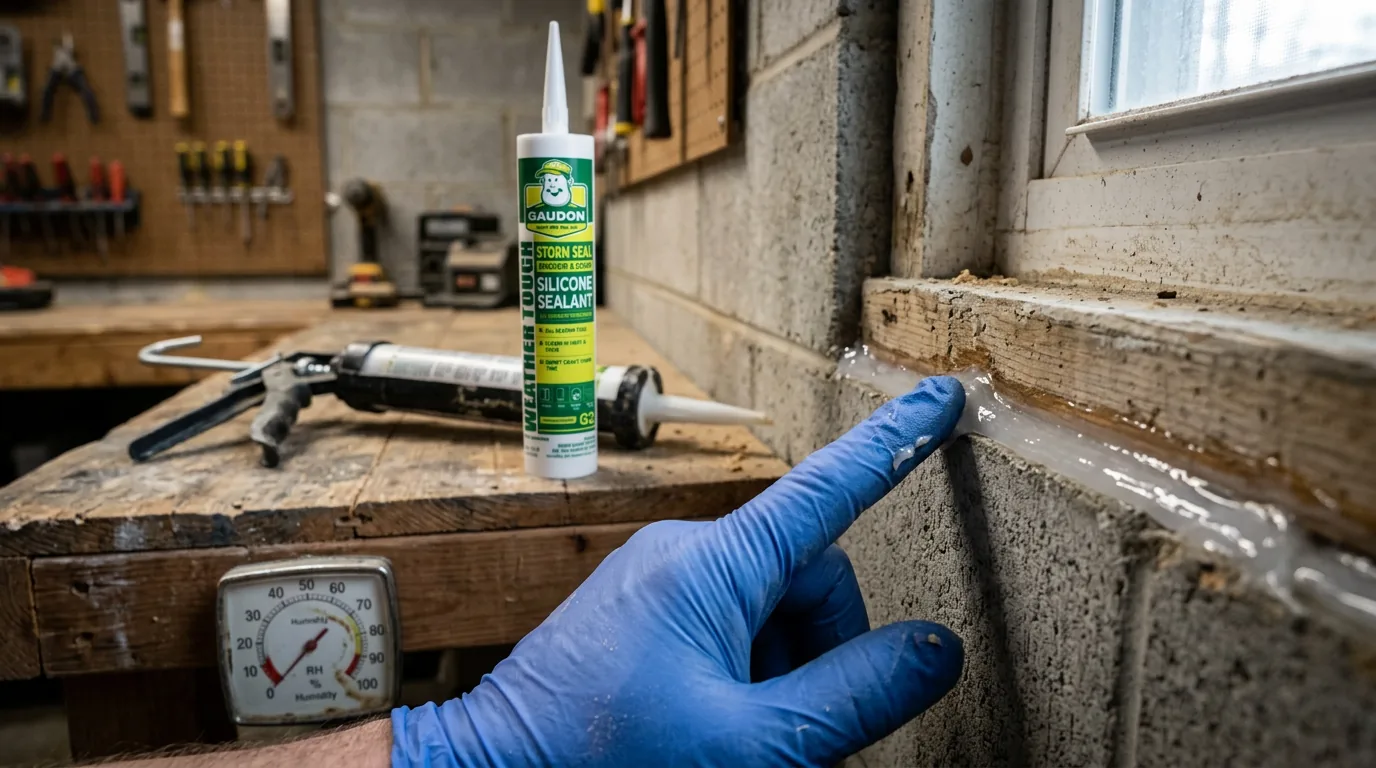
Silicone sealants cure by reacting with moisture in the air. If the bead is still soft or tacky days after application, the environment is too dry or too cold for the curing reaction. This happens most often in winter, in air-conditioned spaces with very low humidity, or when the bead is extremely thick. Thin the bead if possible, increase ventilation, or introduce some humidity (a damp towel nearby can help in small spaces). Neutral-cure silicones are less sensitive to temperature than acetic-cure, but they still need some ambient moisture. If it has been more than 72 hours and the surface is still sticky, the product may have expired. Check the manufacturing date on the cartridge.
Pro Tip
Sealant cures from the outside in. A 6mm bead typically skins over in 5 to 10 minutes but takes 24-48 hours to cure through. Thick beads in deep joints can take a week.
Yellowing or discoloration
Clear and white sealants can yellow over time, especially when exposed to UV light. Cheaper silicones with high filler content yellow faster. Smoke, cooking oils, and some cleaning chemicals can also cause discoloration. If the yellowing is cosmetic and the sealant is still flexible and bonded, you don't necessarily need to replace it. But if it bothers you or the sealant has also started to harden, remove and replace with a UV-stable product. Look for sealants labeled as non-yellowing, and avoid using indoor-rated products in sun-exposed areas.
Common Mistakes to Avoid
Applying new sealant over failed sealant
New sealant won't bond to old sealant. Remove everything and start fresh.
Blaming the product when prep was skipped
Nine times out of ten, adhesion failure is a prep problem, not a product problem.
Using bleach as a long-term mold fix
Bleach kills surface mold but doesn't prevent regrowth. The sealant formula matters more.
Assuming thicker beads are stronger
Oversized beads cure slowly, can trap air, and are more likely to crack. Match the bead to the joint.
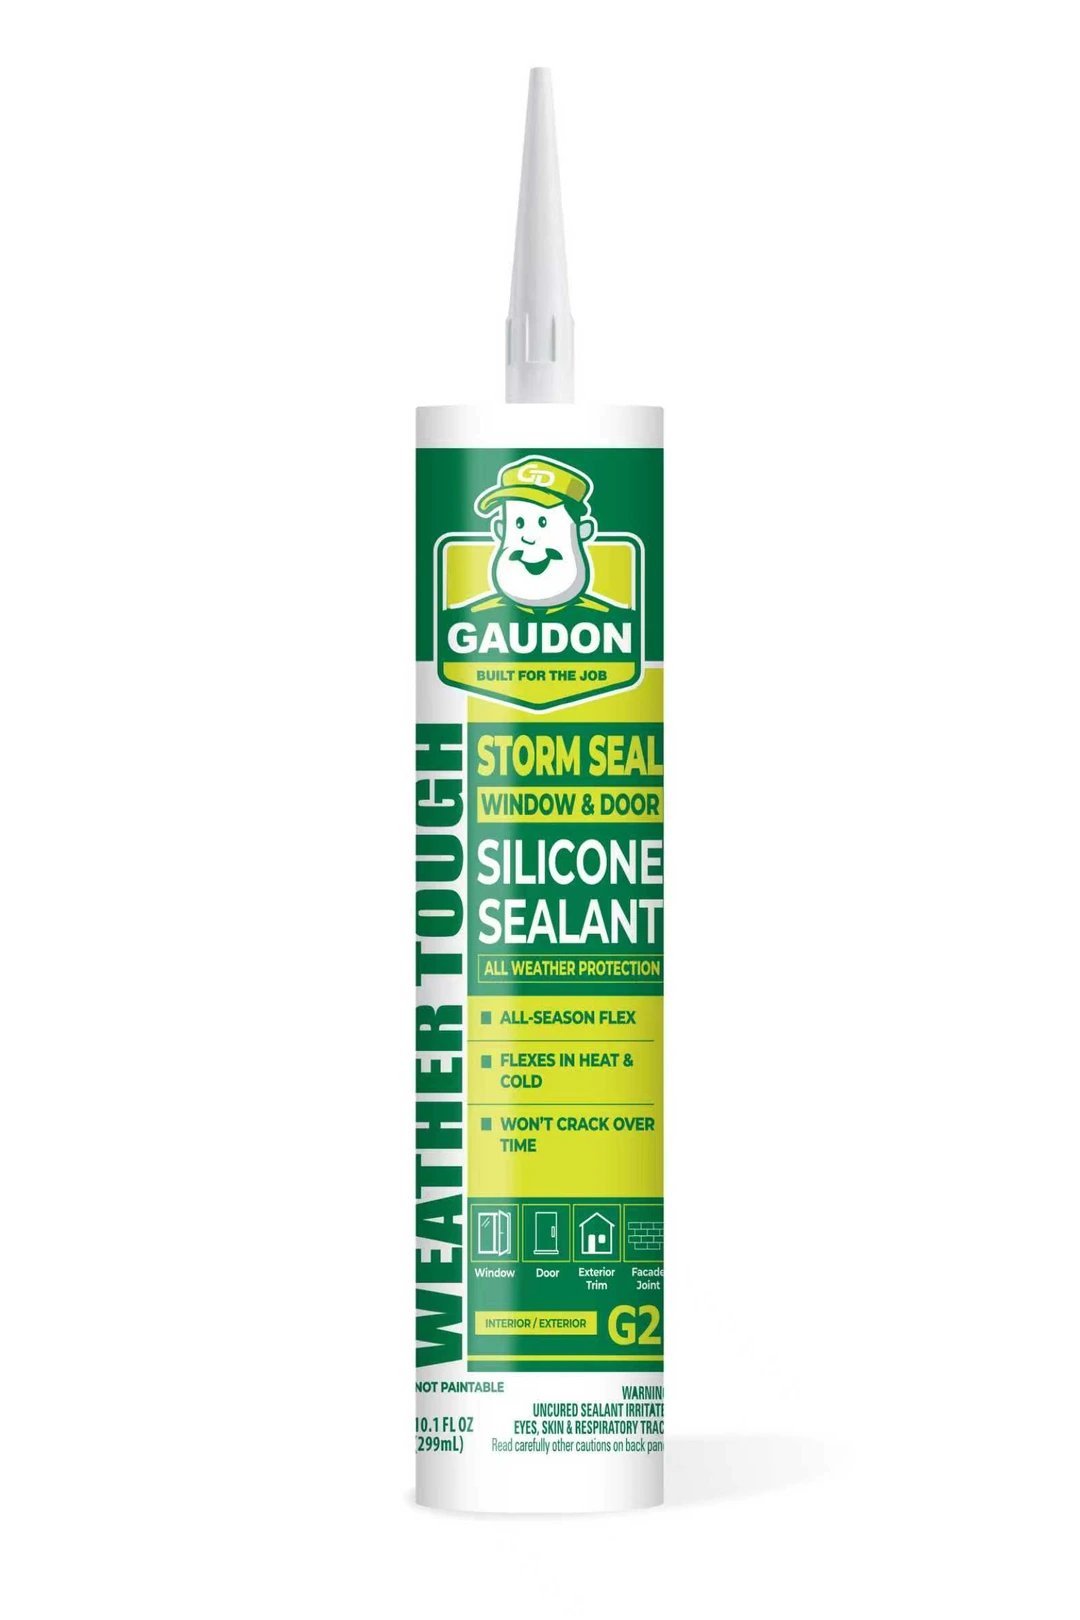
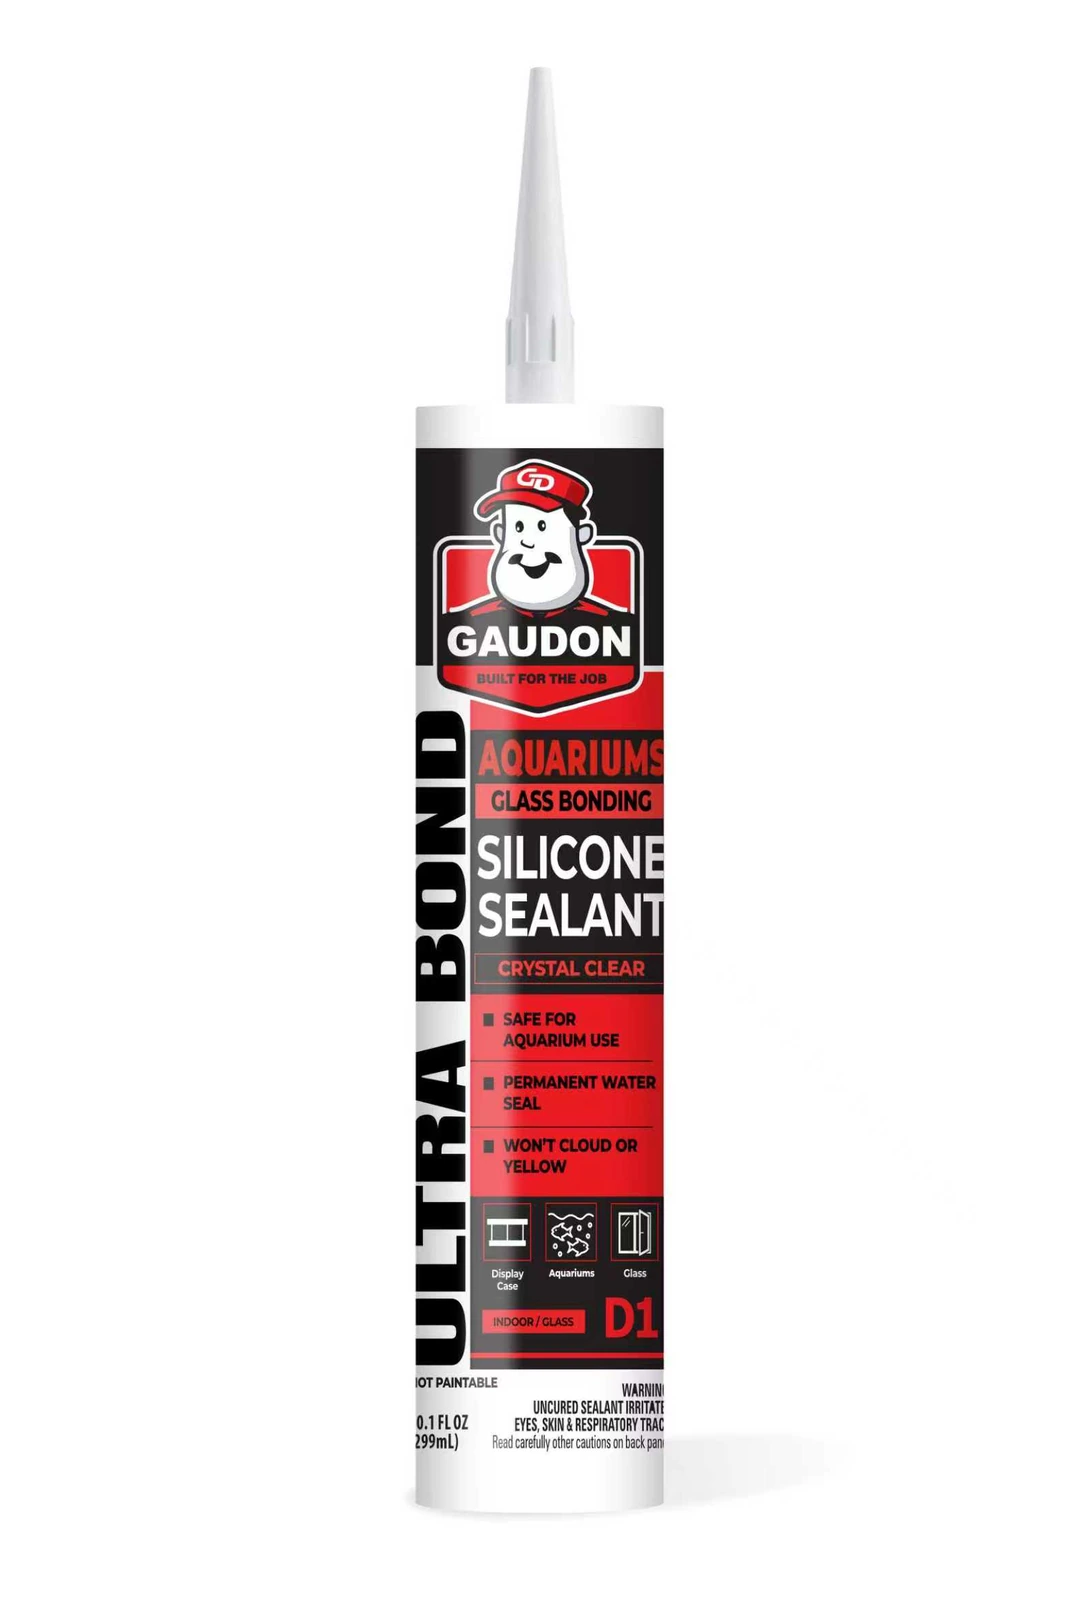
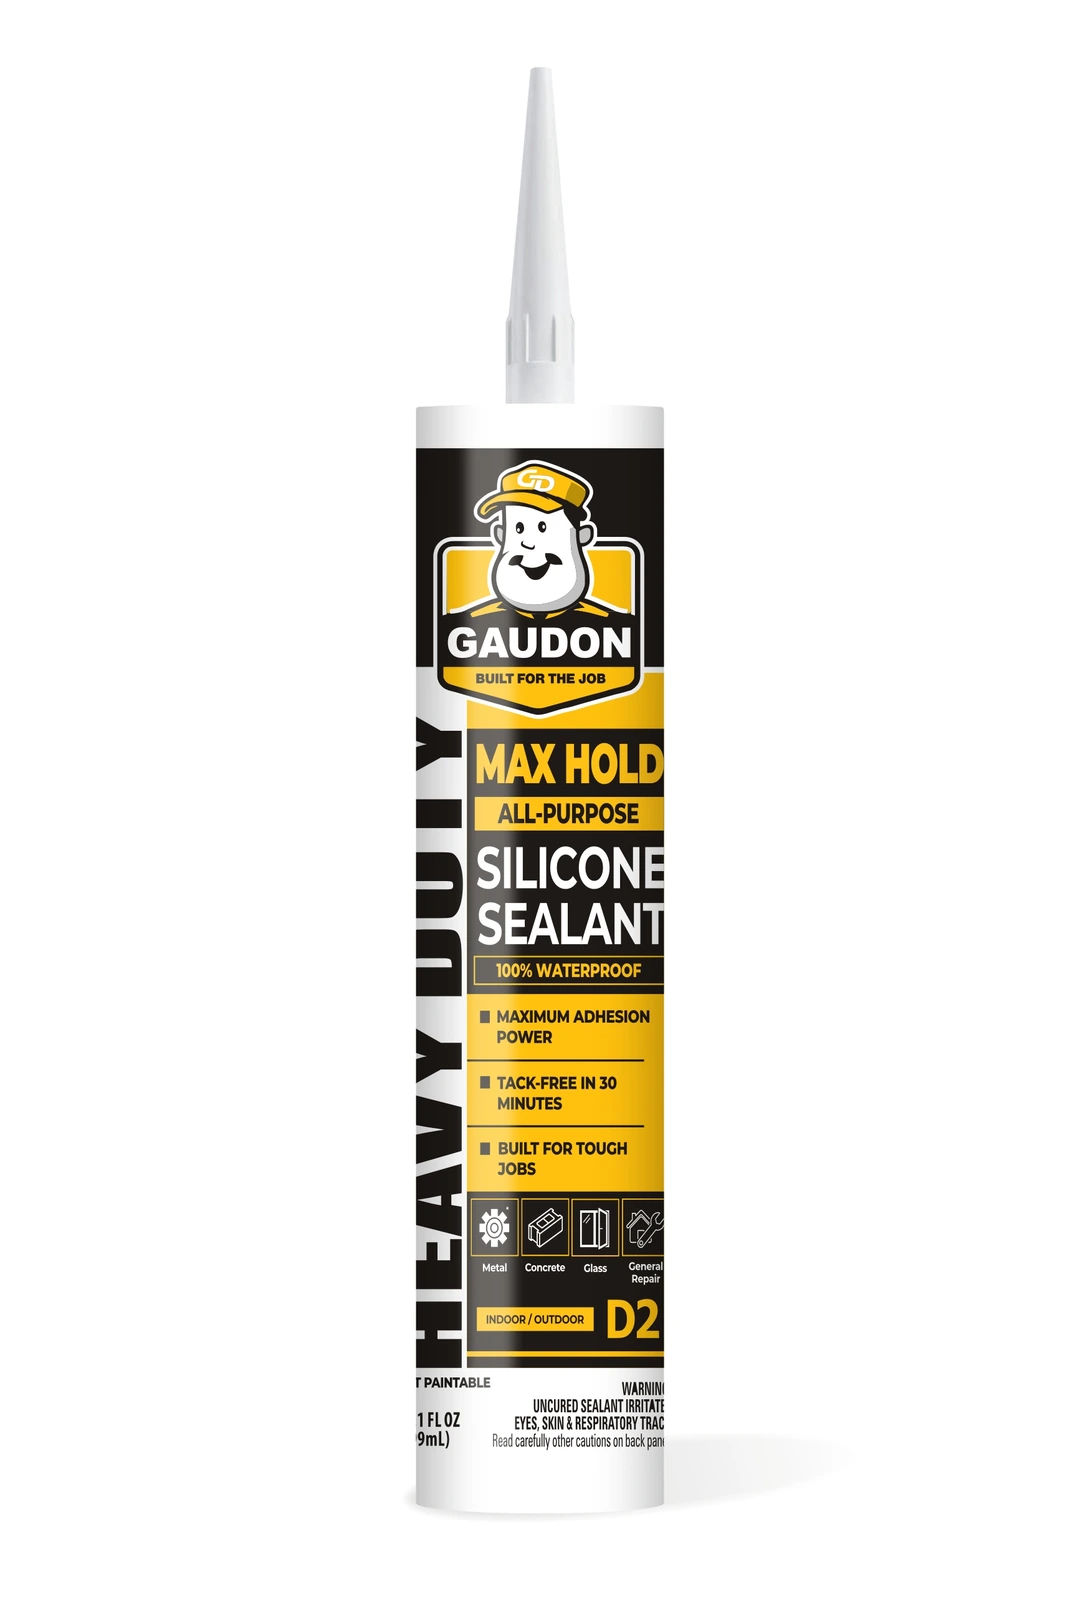
Products Used in This Guide
Professional-grade sealants built for the job.
Ready to put this on a job?
Samples ship to a business address for evaluation, case pricing is quoted directly, and the submittal builder assembles the data sheets a specification calls for.