Seal Windows and Doors
Stop drafts and moisture. Tight seals that last years.
What You'll Need
Inspect the current seal condition
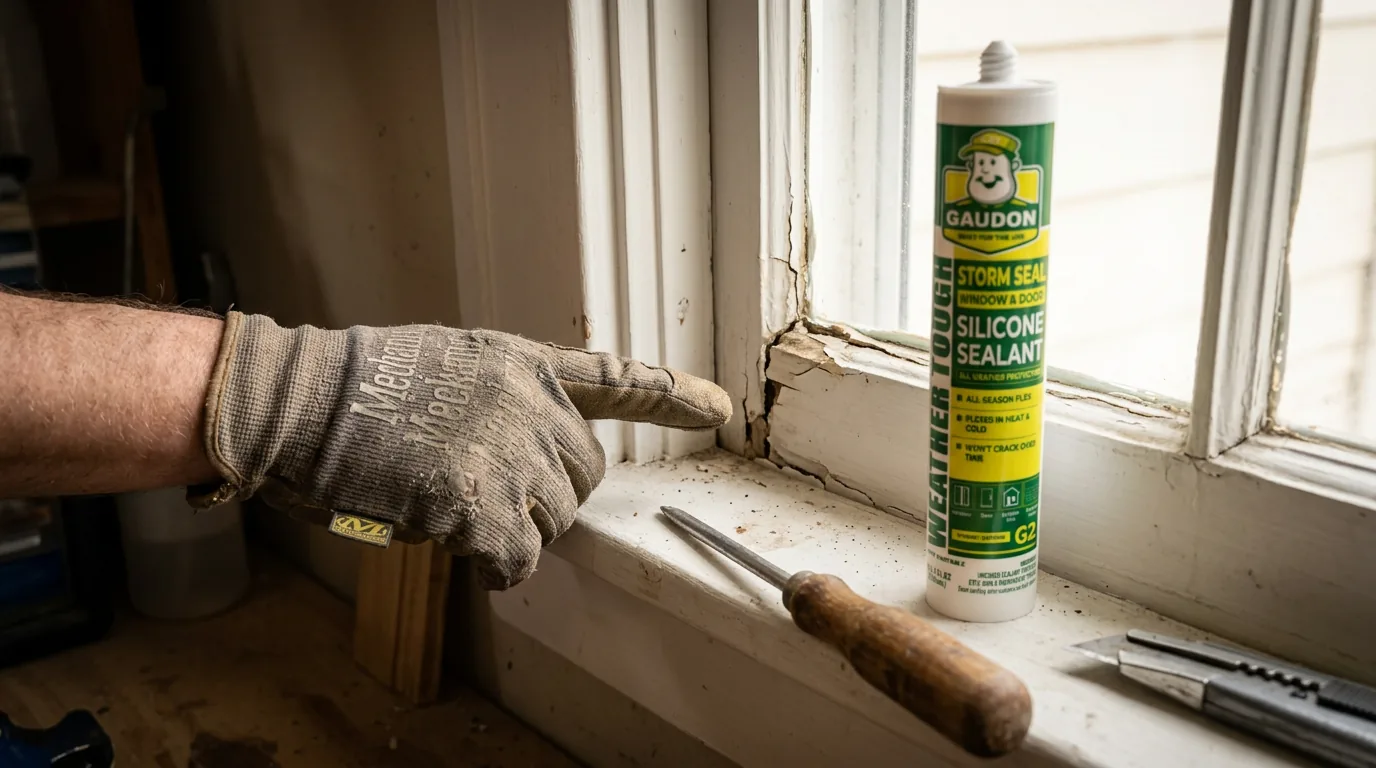
Before you start pulling out caulk, take a close look at what's there. Check around the full perimeter of each window and door frame. Look for gaps where sealant has pulled away, cracked, or gone missing entirely. Run your hand along the frame on a windy day and feel for drafts. Pay special attention to the bottom corners of windows and the threshold area of doors, since these take the most weather abuse. If the existing sealant is soft, flexible, and still bonded on both sides, it may not need replacing yet. Focus your effort on the sections that have actually failed.
Remove old weathered sealant
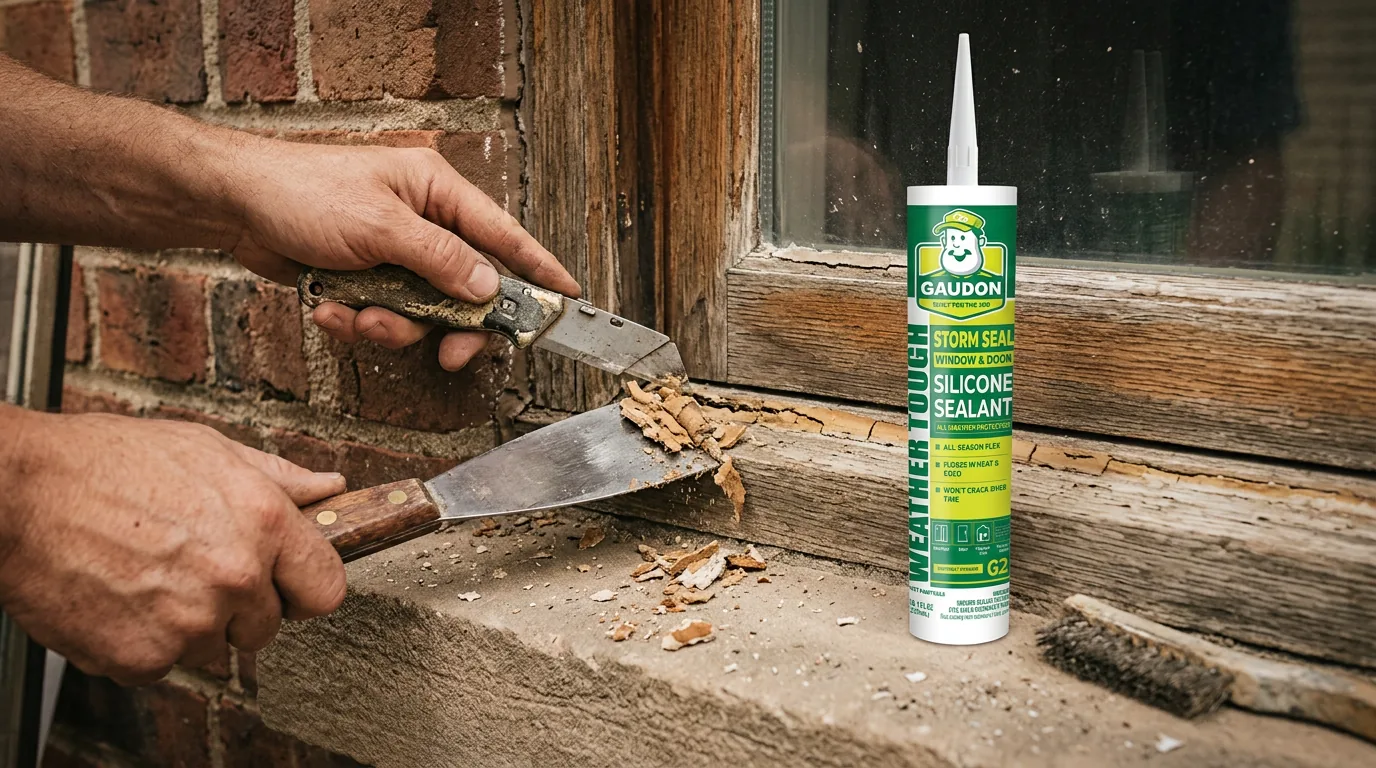
Score along both edges of the old bead with a utility knife, then peel it out. For sealant that's been in place for years, it may come off in chunks rather than clean strips. A scraper helps get the remaining film off the frame. Be careful not to gouge wood frames or scratch aluminum. On vinyl windows, a plastic scraper is safer than metal. Get the joint as clean as possible because fresh sealant needs to grip the frame and the wall, not a layer of old material.
Clean and prep the joint
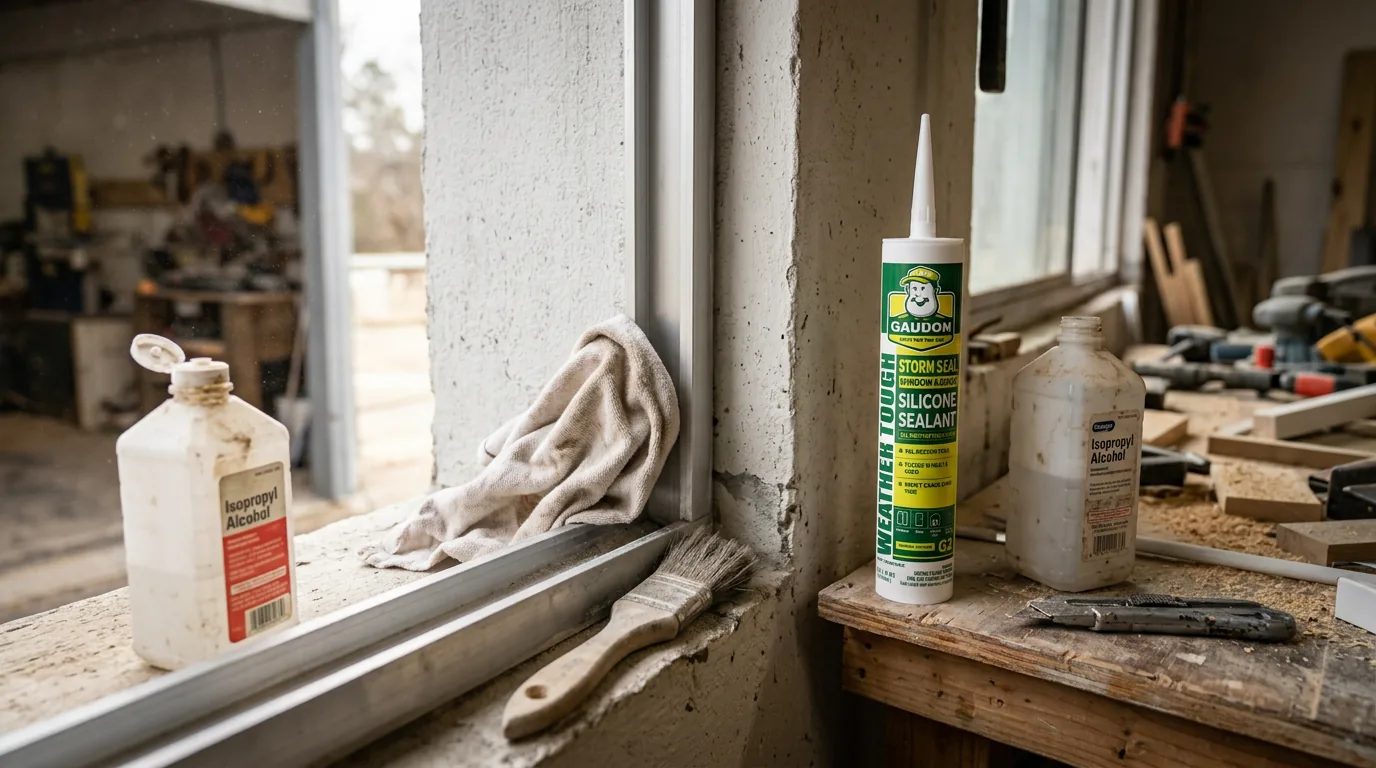
Wipe both surfaces of the joint with isopropyl alcohol on a clean rag. This removes dust, oxidation, and any residue from the old sealant. For exterior joints, brush out any leaves, cobwebs, or insect debris that may have collected in the gap. If the joint is between a metal frame and masonry, clean both sides separately since they need different attention. Metal needs degreasing, masonry needs dust removal. Let everything dry completely.
Choose the right bead size
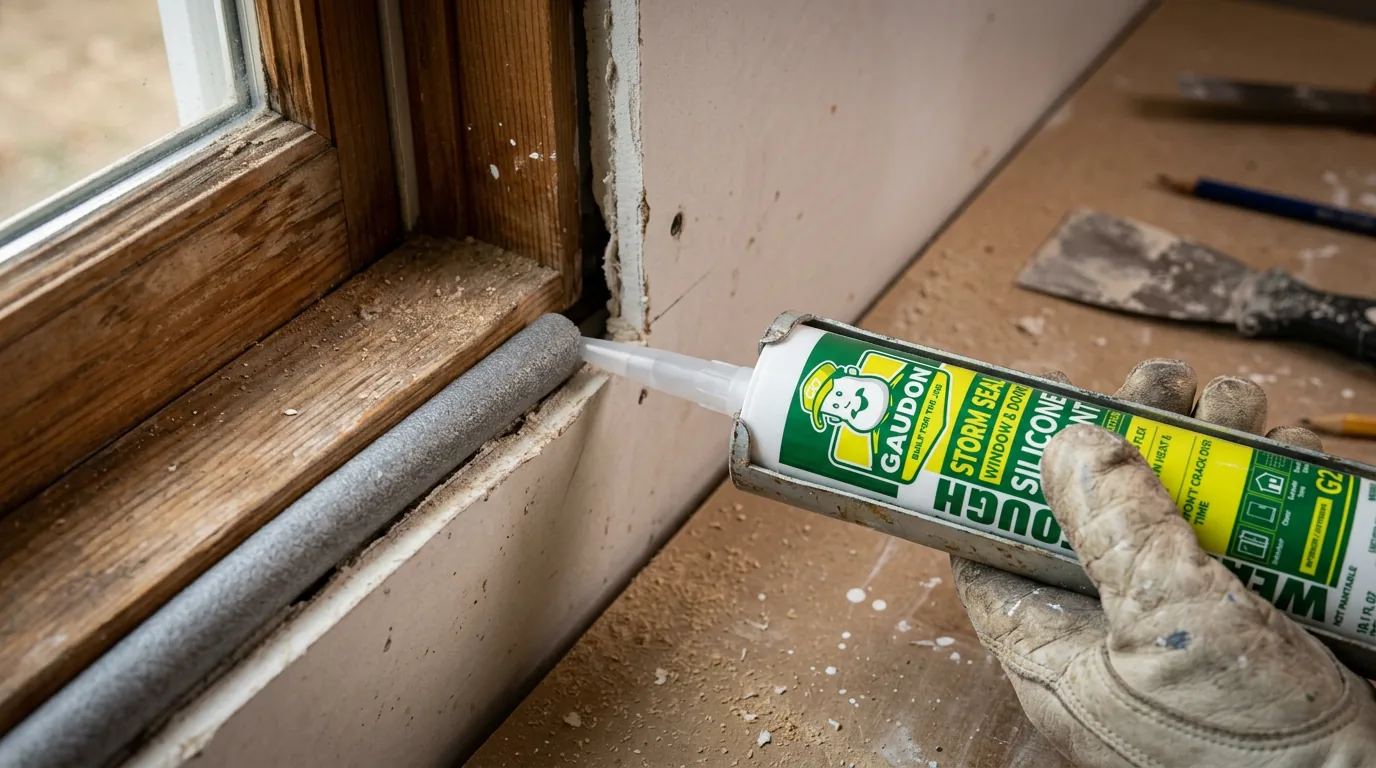
Window and door joints are typically 5-10mm wide. Cut the sealant nozzle to match the joint width, or slightly narrower. You want the bead to fill the joint and make contact with both surfaces without overflowing onto the face of the frame. For joints wider than 10mm, insert a backer rod first to reduce the depth and give the sealant the right cross-section. The finished bead should be slightly concave (pushed in) rather than convex (bulging out). A concave shape handles movement better because it stretches like a rubber band instead of pulling apart.
Pro Tip
For windows, a concave bead also sheds water instead of trapping it. This is a small detail that makes a big difference for exterior seals.
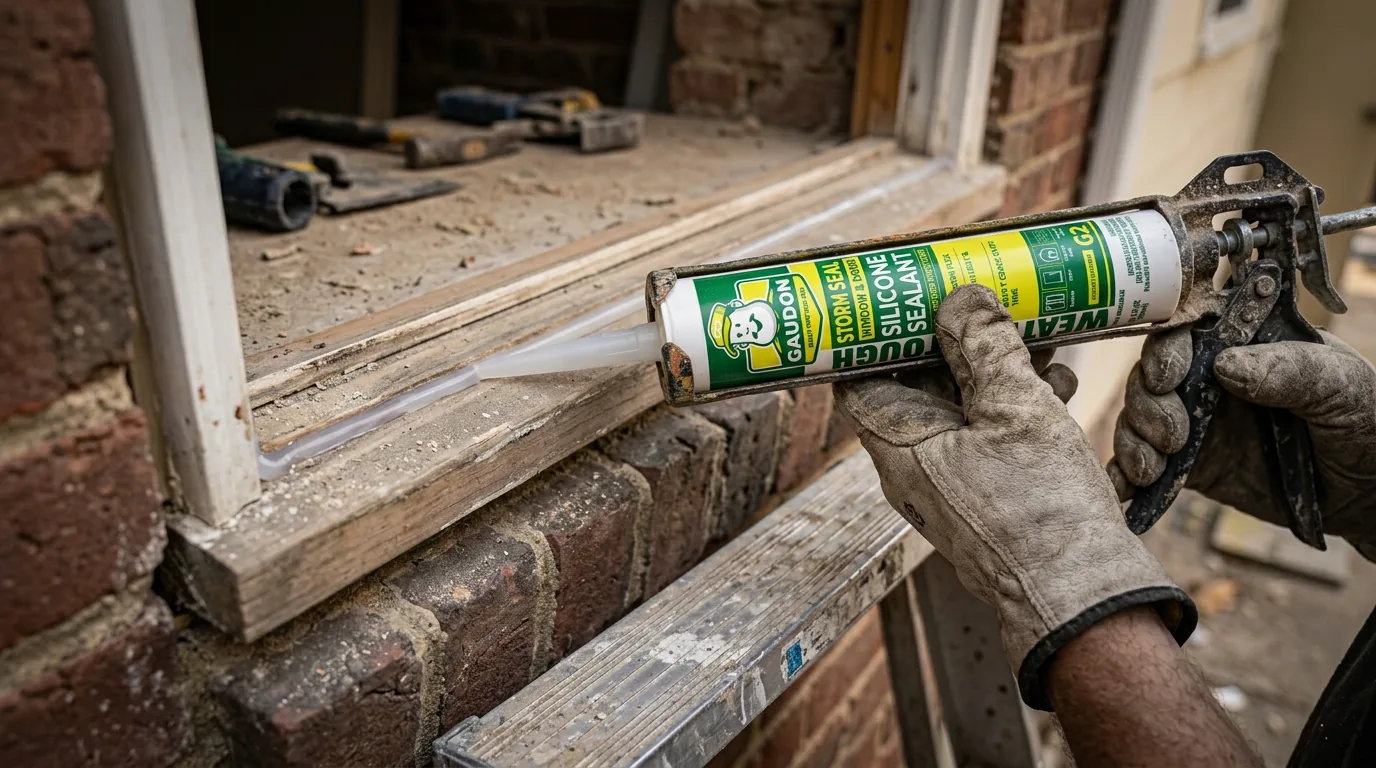
Apply sealant around the frame
Start at the top of the frame and work down one side, across the bottom, and up the other side. Apply with steady, even pressure. Keep the gun moving at a consistent speed so the bead stays uniform. At corners, don't stop and restart. Just slow down slightly and continue around the turn in one motion. Stopping and starting at corners creates weak spots where the bead overlaps or gaps form. If you're sealing both interior and exterior, do the exterior first and let it skin over before starting inside.
Smooth and finish the bead
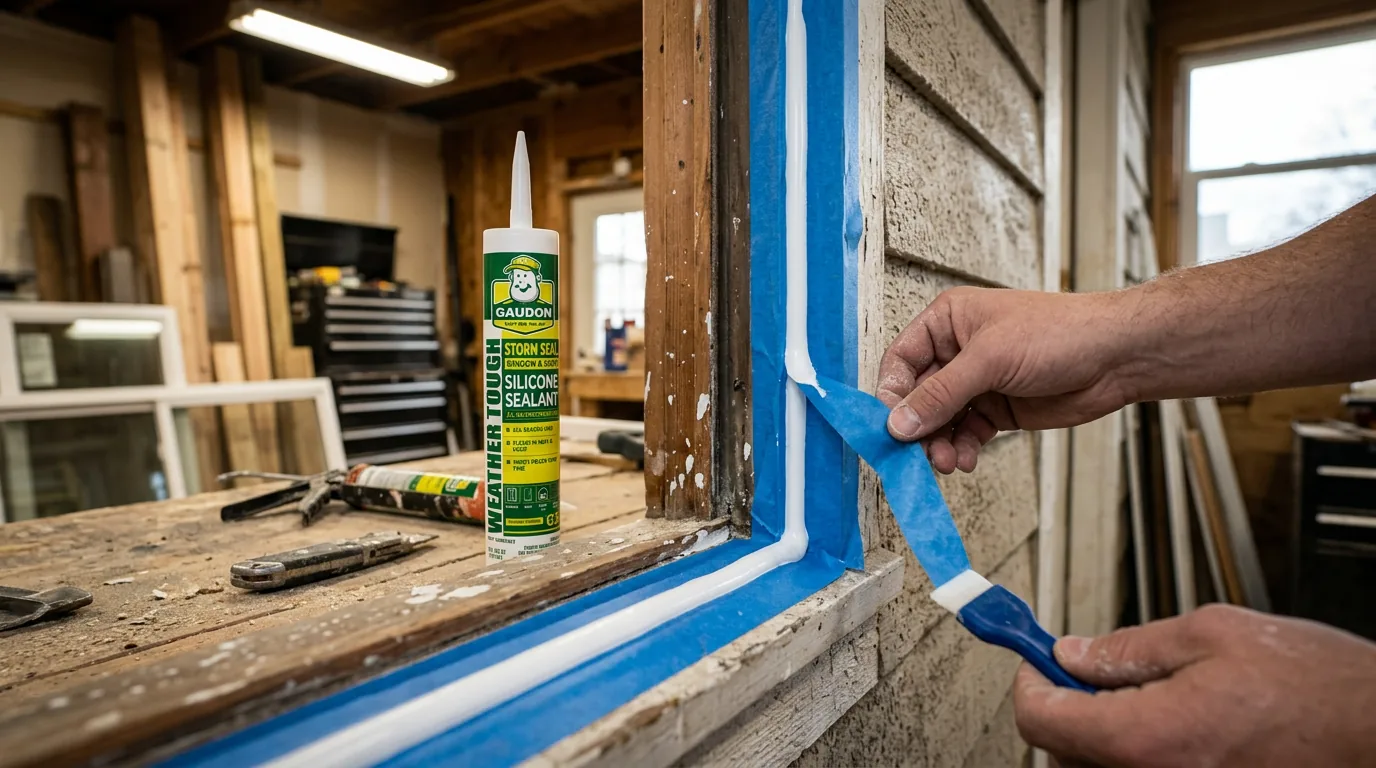
Tool the bead immediately after application. For exterior window seals, a sealant finishing tool gives the cleanest result. For a concave profile, use a tool or a gloved finger dipped in soapy water. Pull the tape while the sealant is still wet. Waiting too long means the tape pulls up the edge of the cured sealant, leaving a ragged line. Work one side at a time if needed: apply, smooth, remove tape, then move to the next section.
Allow proper cure time
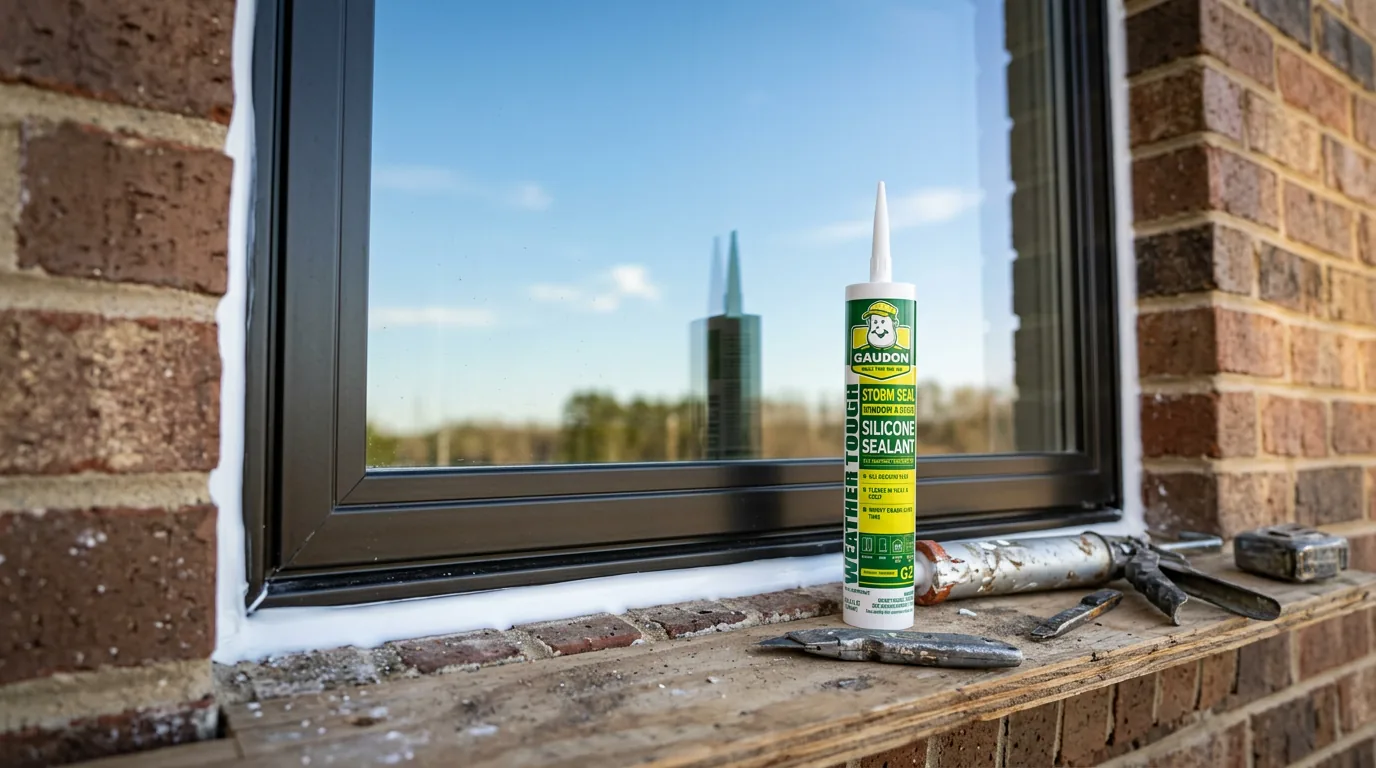
Cure time is a property of the product, so read the one you are using. For the GAUDON G2 the surface skins in 5 to 10 minutes, is tack free in about 30 minutes, and a standard quarter inch bead cures through in 24 to 48 hours. The G3 exterior facade silicone is the slow one: tack free in about 1.7 hours and 7 to 14 days for a full section. Thicker beads and cold or dry conditions take longer, and every one of these sheets states an application temperature range of 40F to 100F. Keep the fresh joint out of standing water until it has cured through, and cover it if rain is coming. Silicone does not accept paint at all, so if the joint has to be painted you needed an acrylic latex caulk instead.
Common Mistakes to Avoid
Sealing only the exterior side
Air can leak from both directions. Seal both interior and exterior perimeters for best results.
Using interior-rated sealant outside
Indoor sealants break down under UV and weather exposure. Use a product rated for exterior use.
Stopping and starting at corners
Corners are the weakest point. Keep the bead continuous around turns.
Painting before the sealant has fully cured
Paint traps moisture in the bead and can cause adhesion problems. Wait for full cure.
Sealing over wet surfaces after rain
Moisture under the sealant will cause it to peel. Wait for surfaces to dry completely.
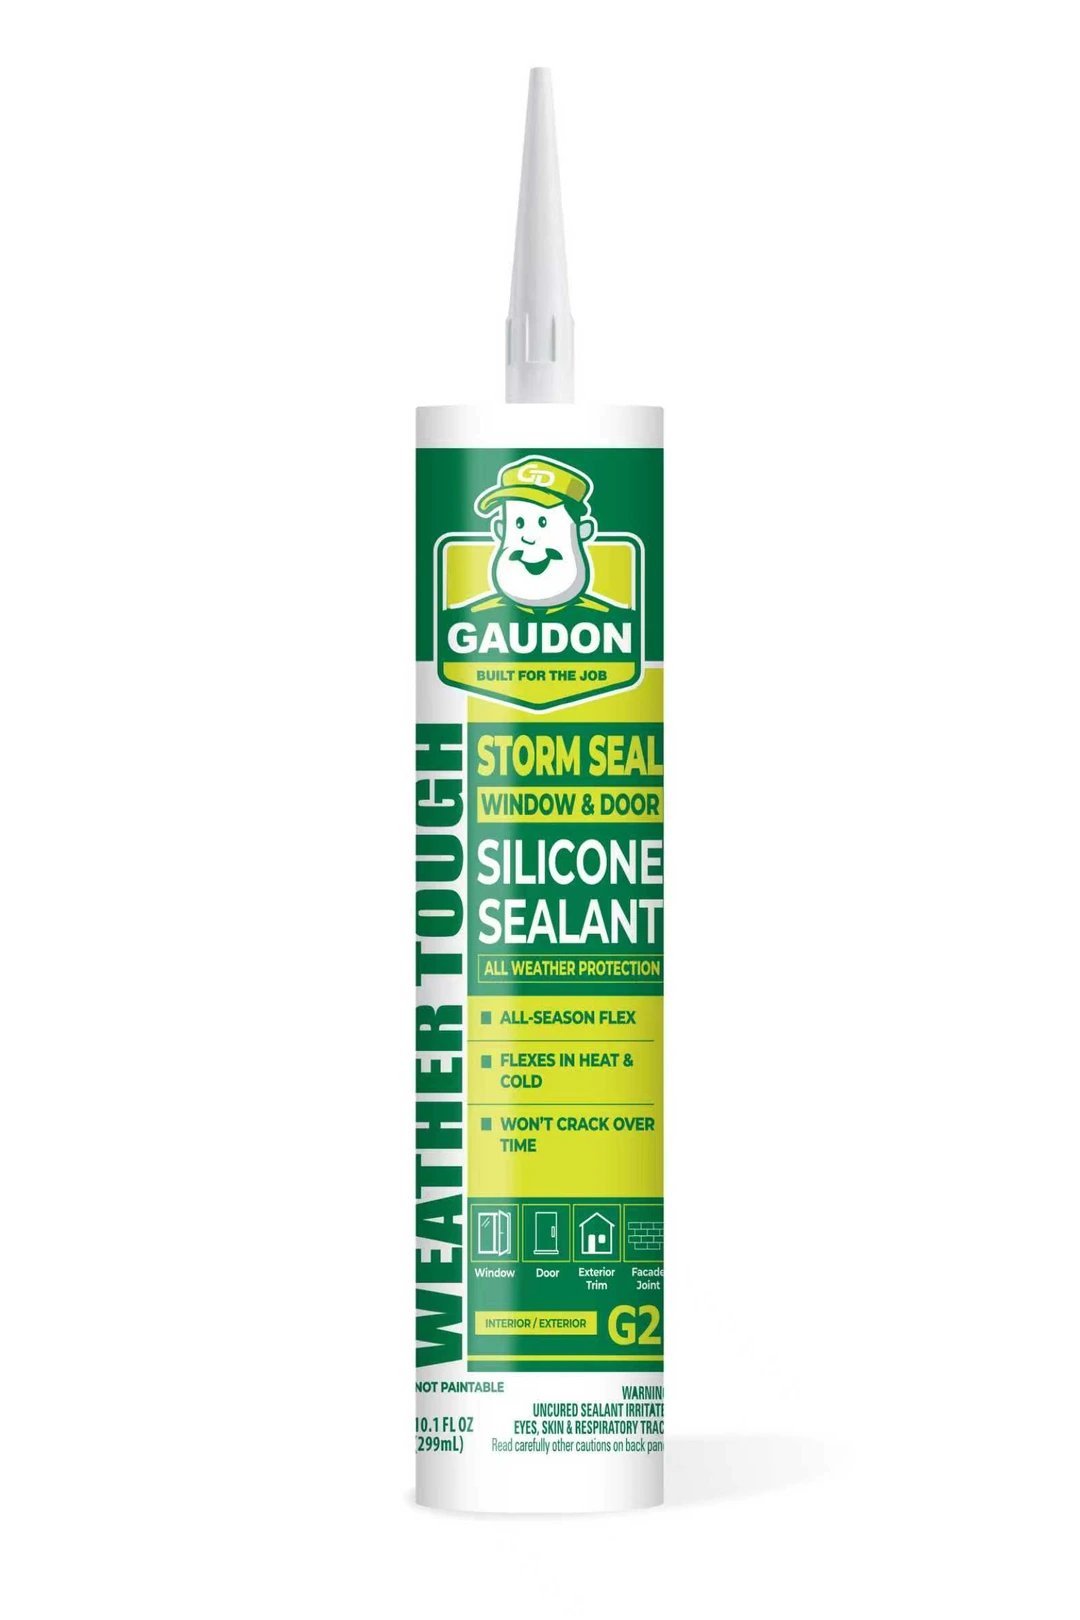
Products Used in This Guide
Professional-grade sealants built for the job.
Ready to put this on a job?
Samples ship to a business address for evaluation, case pricing is quoted directly, and the submittal builder assembles the data sheets a specification calls for.