Remove Old Sealant
Strip old caulk clean without scarring the surface underneath.
What You'll Need
Assess what you're dealing with
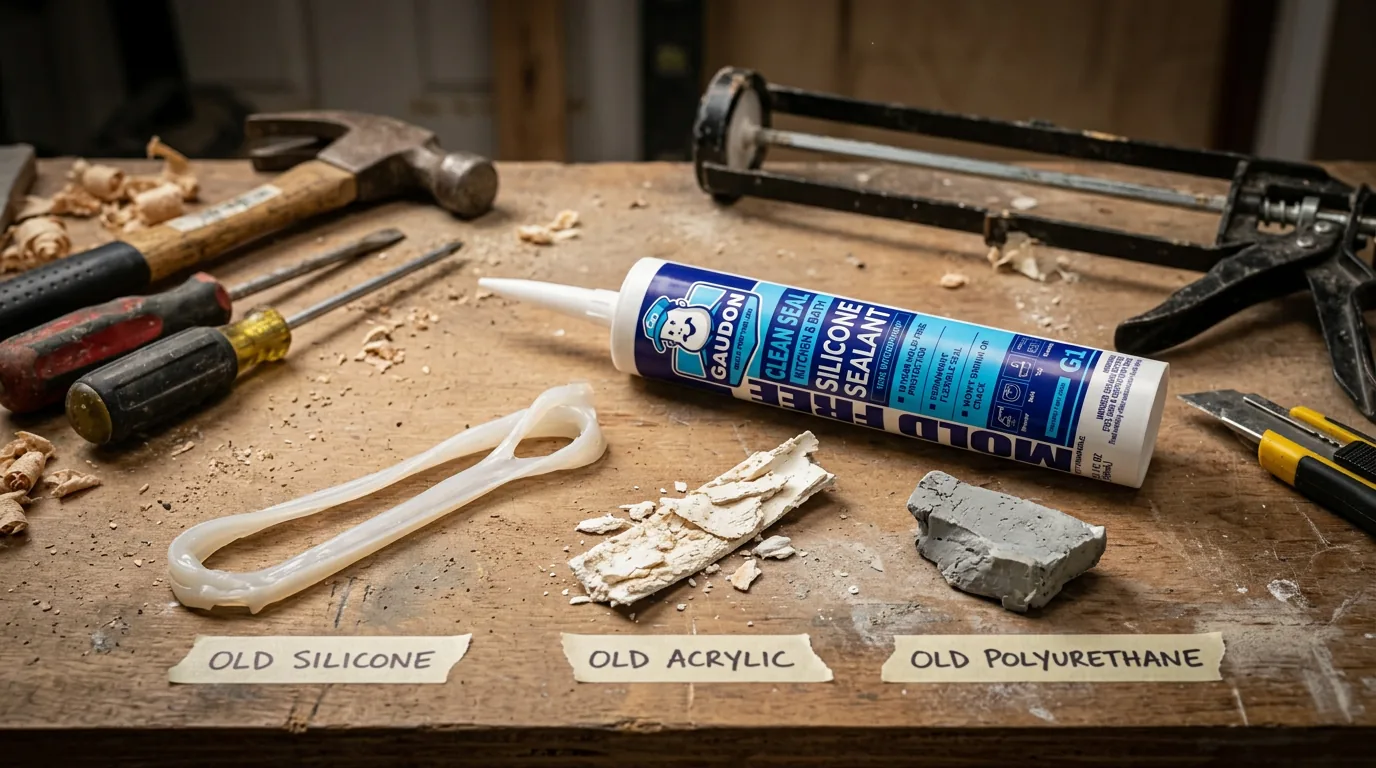
Not all old sealant comes out the same way. Silicone is flexible and rubbery. It usually peels off in strips if you can get an edge started. Acrylic sealant gets harder and more brittle with age, so it tends to crack and flake. Polyurethane is tough and sticks aggressively. Knowing what you're removing helps you pick the right approach. If you're not sure what the old sealant is, try pulling a small section. Silicone stretches. Acrylic crumbles. Polyurethane resists.
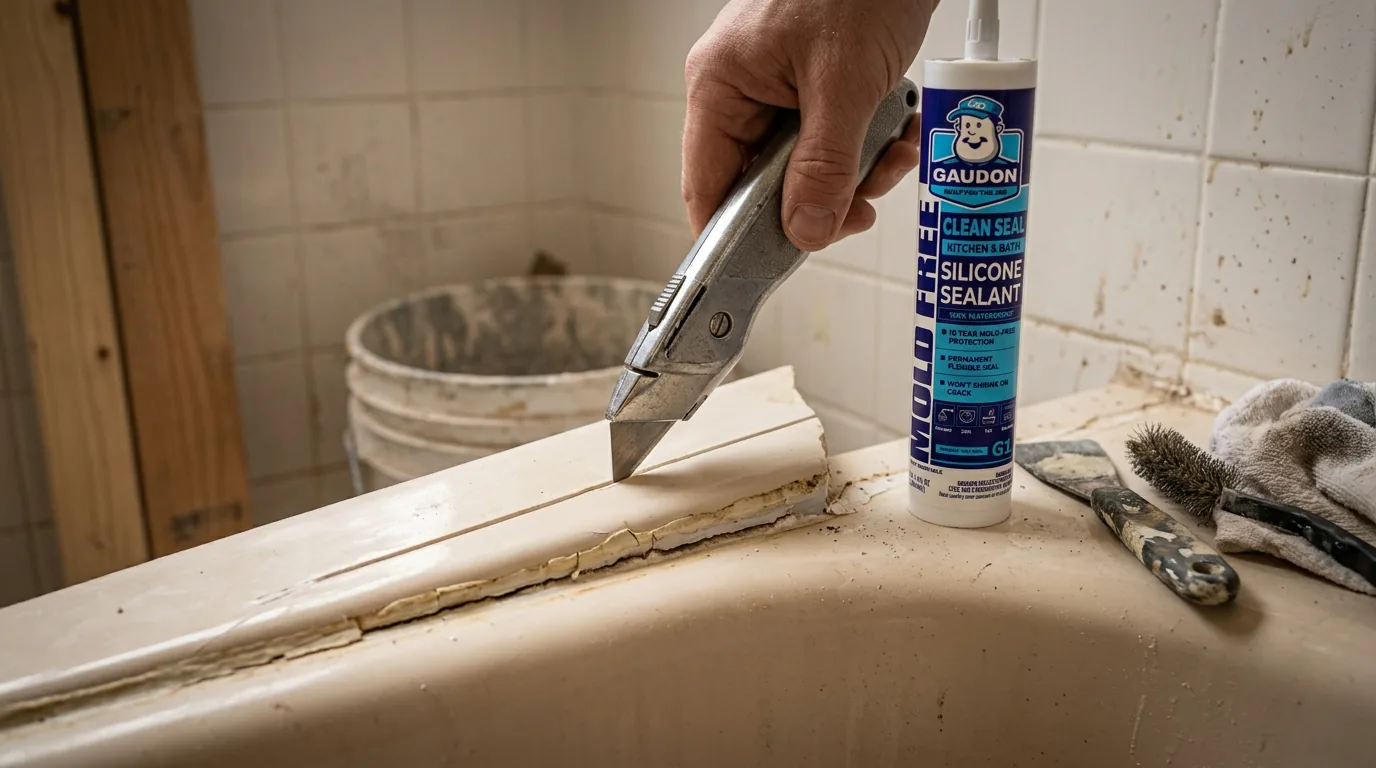
Score along both edges of the bead
Use a sharp utility knife to cut along each side of the sealant bead where it meets the surface. Cut as close to the substrate as possible without scratching it. You're trying to break the bond between the sealant and the surface so the bead can be pulled out in one piece. Make two parallel cuts, one on each side of the joint. A fresh blade makes a big difference here. Dull blades slip and gouge.
Pro Tip
Replace your blade every 2-3 feet of cutting. Silicone dulls blades fast, and a dull knife means more pressure, which means more risk of scratching the surface.
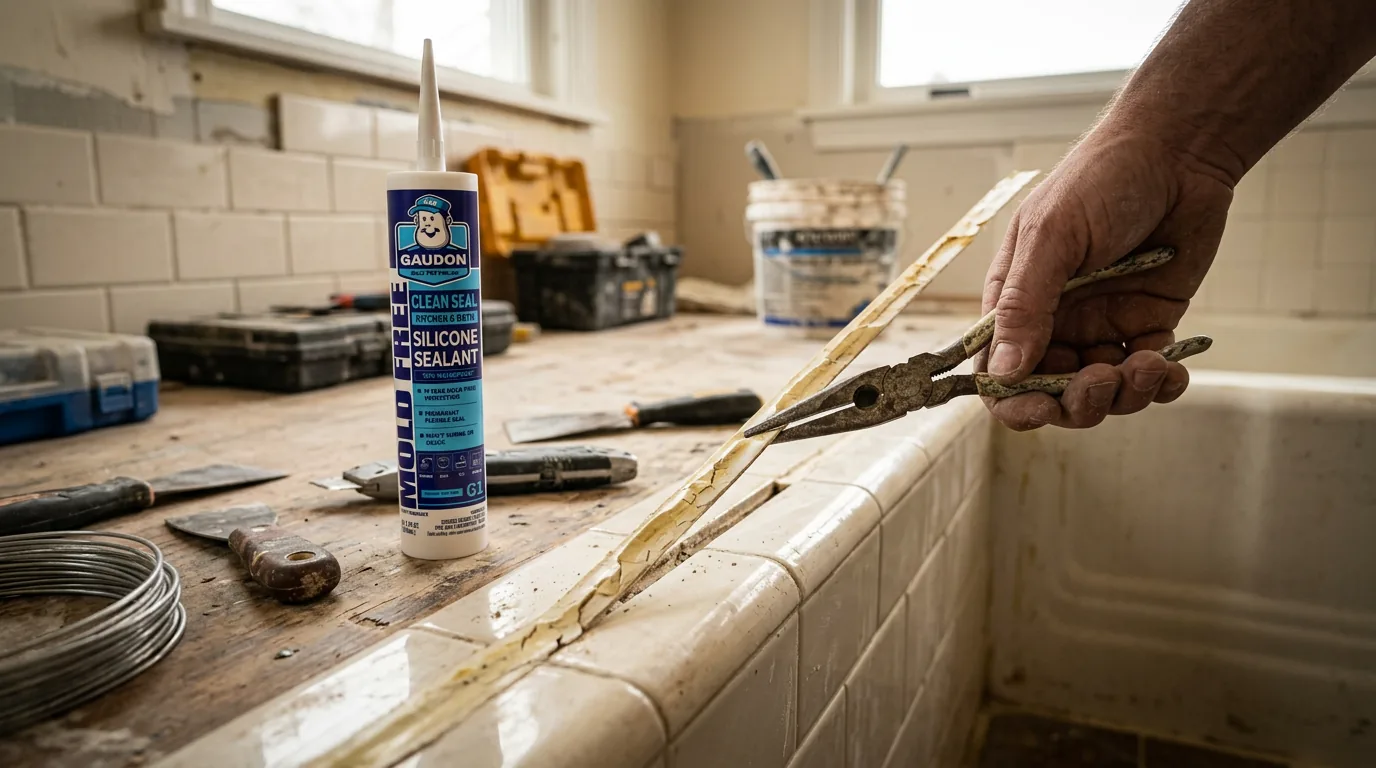
Pull out the bulk material
Once both edges are scored, grab one end of the bead with needle-nose pliers and pull slowly at a low angle. The goal is to peel the sealant away in long strips rather than small chunks. Pull toward yourself at about 45 degrees. If the sealant tears, re-score the edges at the tear and start pulling again. For acrylic sealant that has hardened, you may need to chip it out with a scraper rather than peel it. Work carefully around surfaces that scratch easily, like acrylic bathtubs or polished tile.
Use chemical remover for stubborn residue
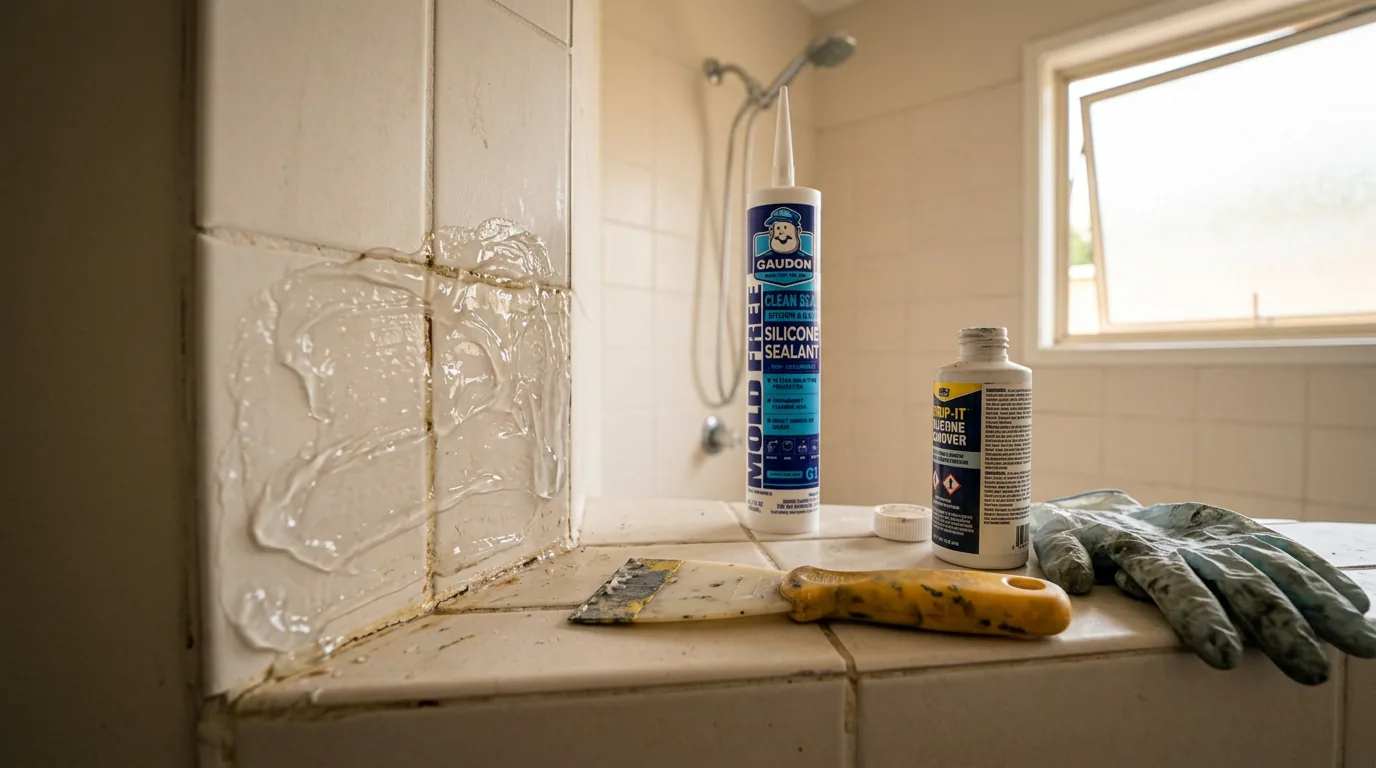
After pulling out the bulk, there's almost always a thin film of sealant left behind. For silicone, apply a silicone remover gel. Spread it over the residue, let it sit for the time recommended on the label (usually 2-4 hours), then scrape it off with a plastic scraper. The chemical softens the silicone so it lifts away without heavy scraping. Make sure you have good ventilation if working indoors. These products work well, but they have strong fumes.
Clean the joint to bare surface
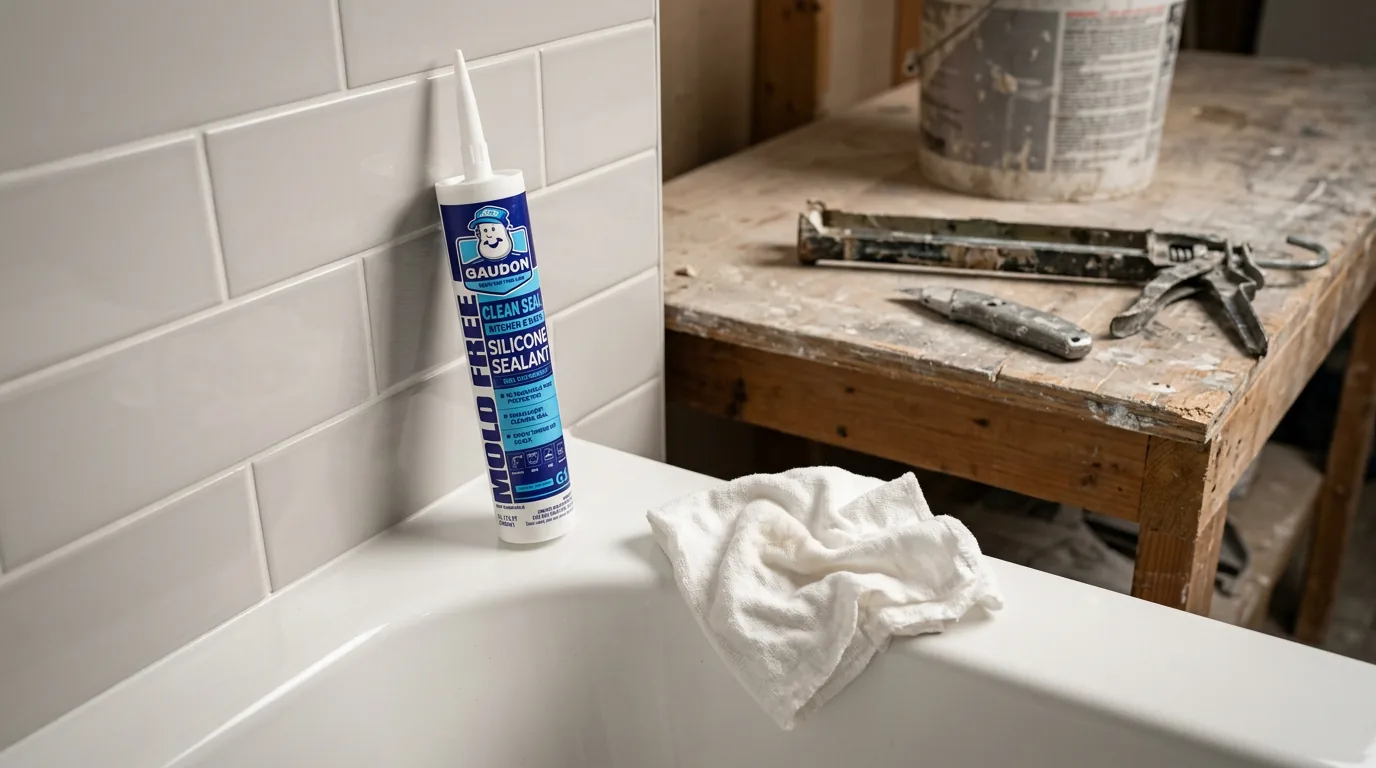
After removing the old sealant and residue, wipe the joint with isopropyl alcohol. This removes any chemical remover residue, oils from your hands, and fine dust from scraping. Inspect the joint carefully. Run a fingernail along both surfaces. If you feel any slick or bumpy spots, there's still residue that needs to come off. The surface should feel clean and slightly rough (like the original material). This is the bonding surface for your new sealant, so take the time to get it right.
Inspect the substrate for damage
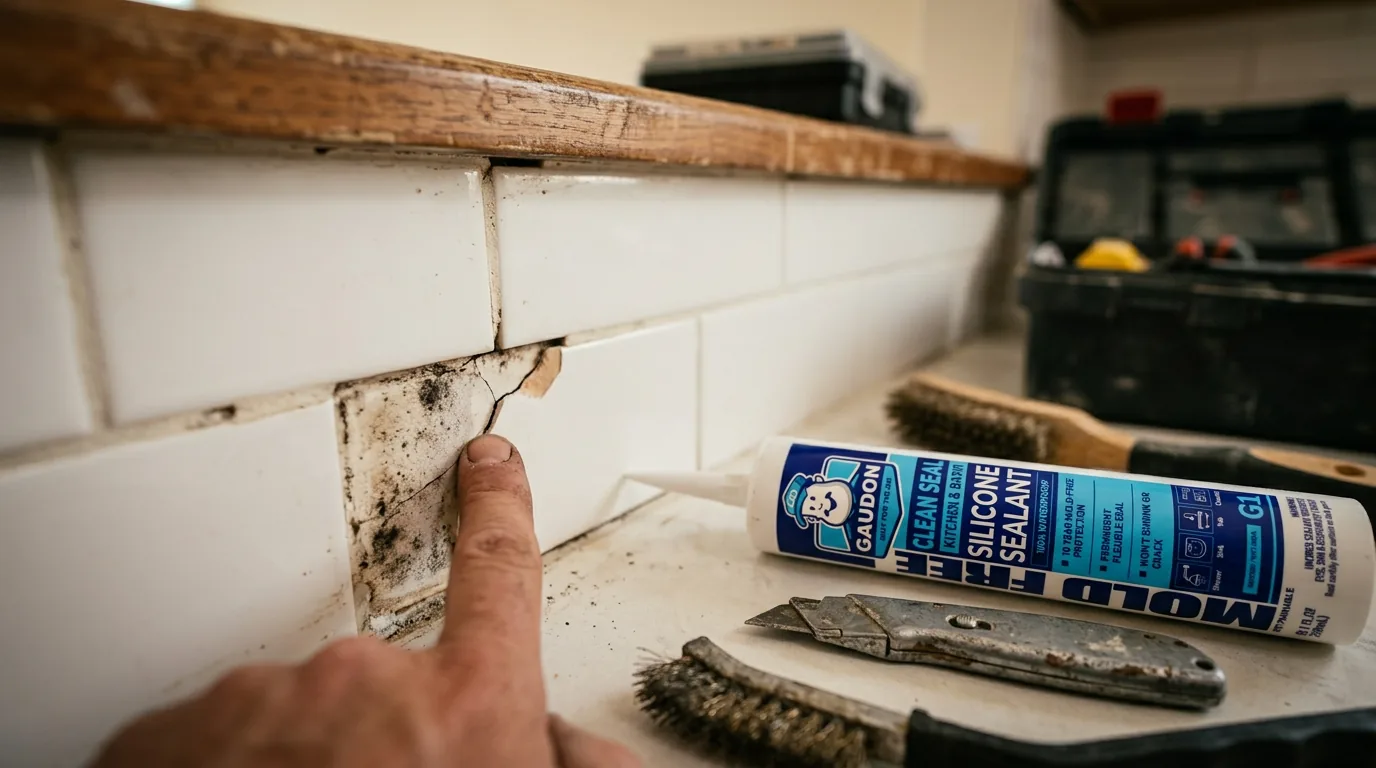
With the old sealant out, you can see the actual condition of the joint. Look for cracks in grout, damaged tile edges, rusted metal, rotted wood, or crumbling mortar. These problems need to be repaired before you apply new sealant. Sealing over damaged substrate just hides the issue for a few months before it fails again. Fix the structure first, then seal the joint.
Apply fresh sealant
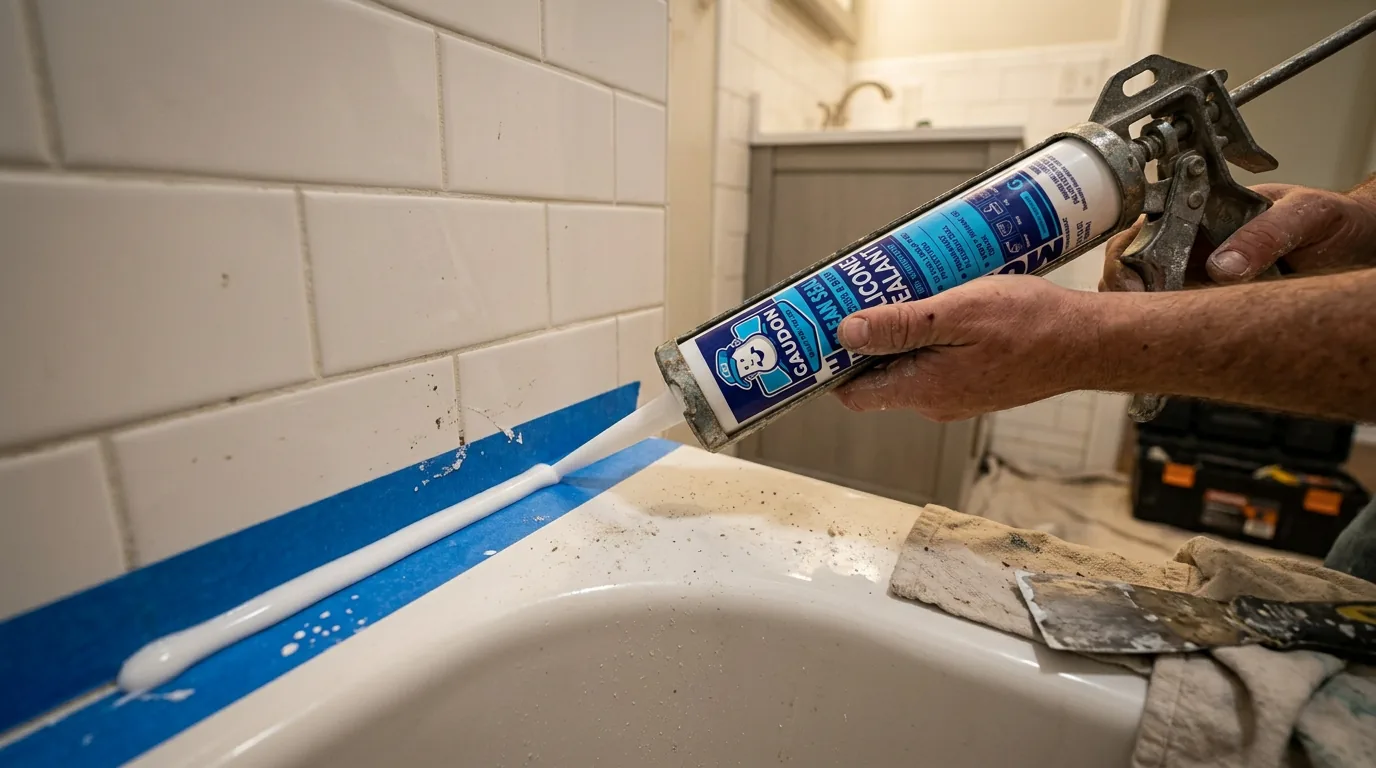
Once the joint is clean, dry, and structurally sound, apply new sealant following standard application steps. Mask off both sides with painter's tape, apply in one steady pass, smooth the bead, remove the tape while wet, and let it cure. The job looks and performs better when the old material was fully removed. Taking the extra time on removal means the new seal has the best chance of lasting its full service life.
Common Mistakes to Avoid
Applying new sealant over old
Fresh sealant does not bond to old sealant. Remove it completely.
Using metal scrapers on soft surfaces
Metal scrapers scratch acrylic tubs, fiberglass, and polished tile. Use plastic on delicate surfaces.
Skipping the chemical remover step
The thin film left after peeling is enough to cause adhesion failure with the new bead.
Not ventilating when using chemical removers
Sealant remover fumes are strong. Open windows and use a fan.
Resealing before the joint is fully dry
Chemical removers and cleaning solvents need to evaporate before new sealant goes on.
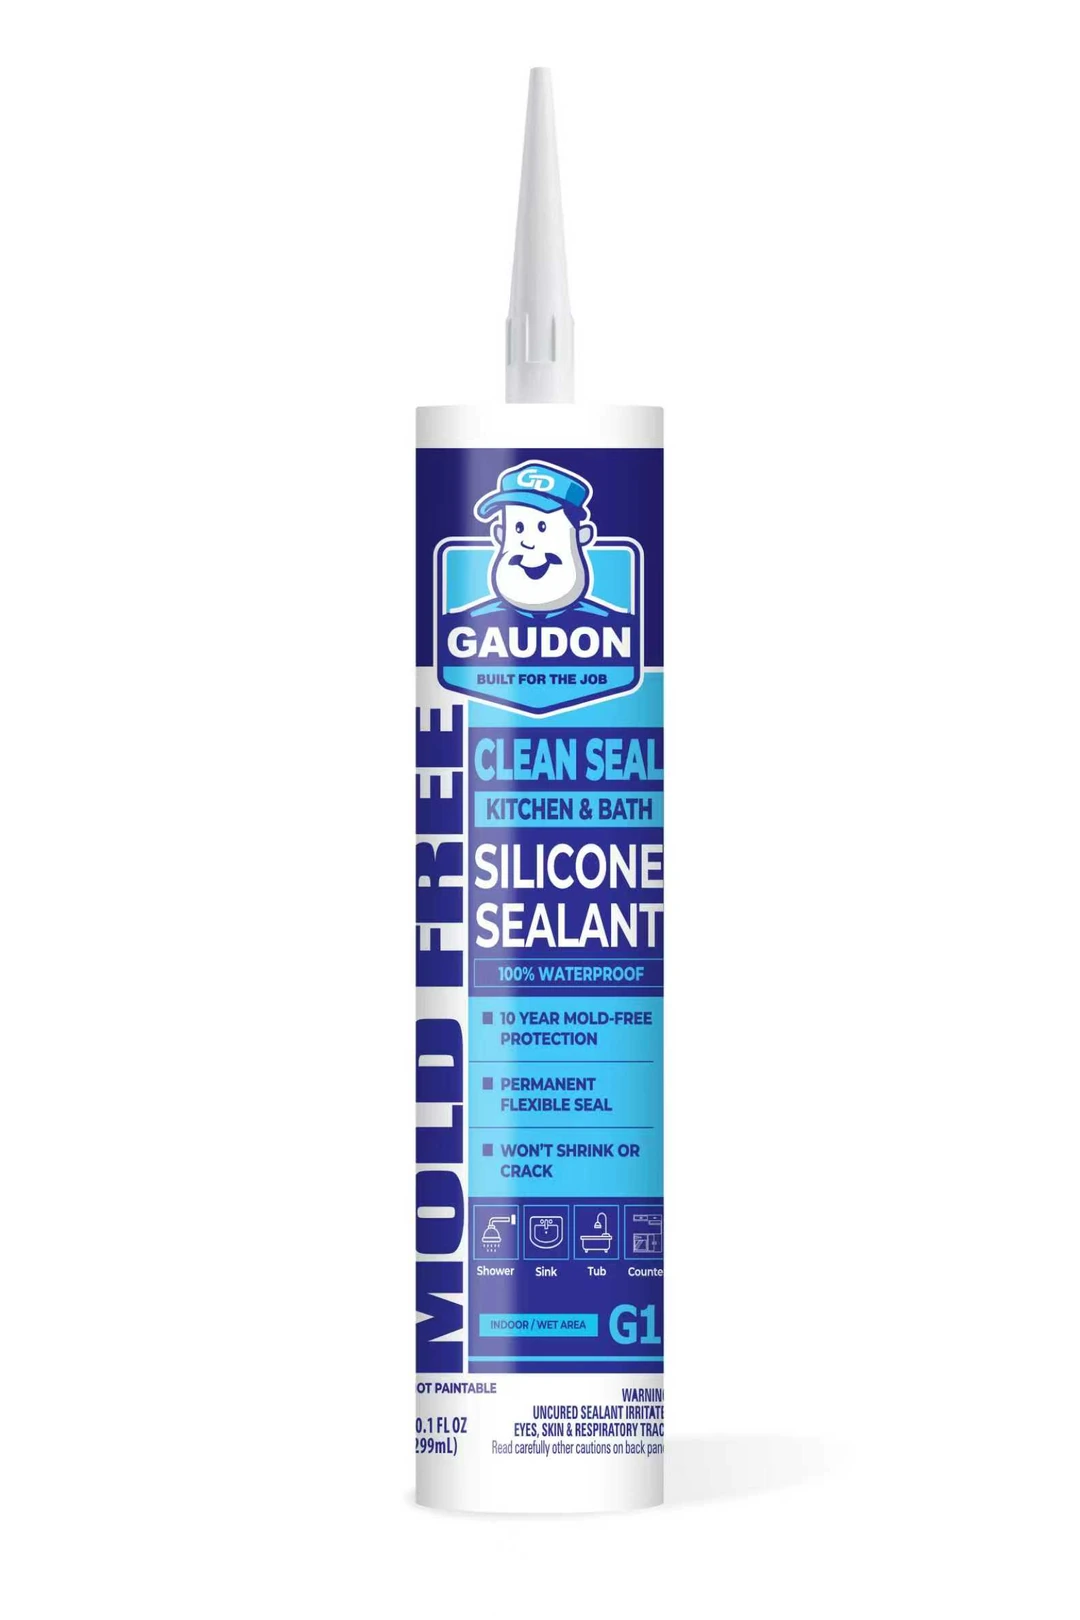
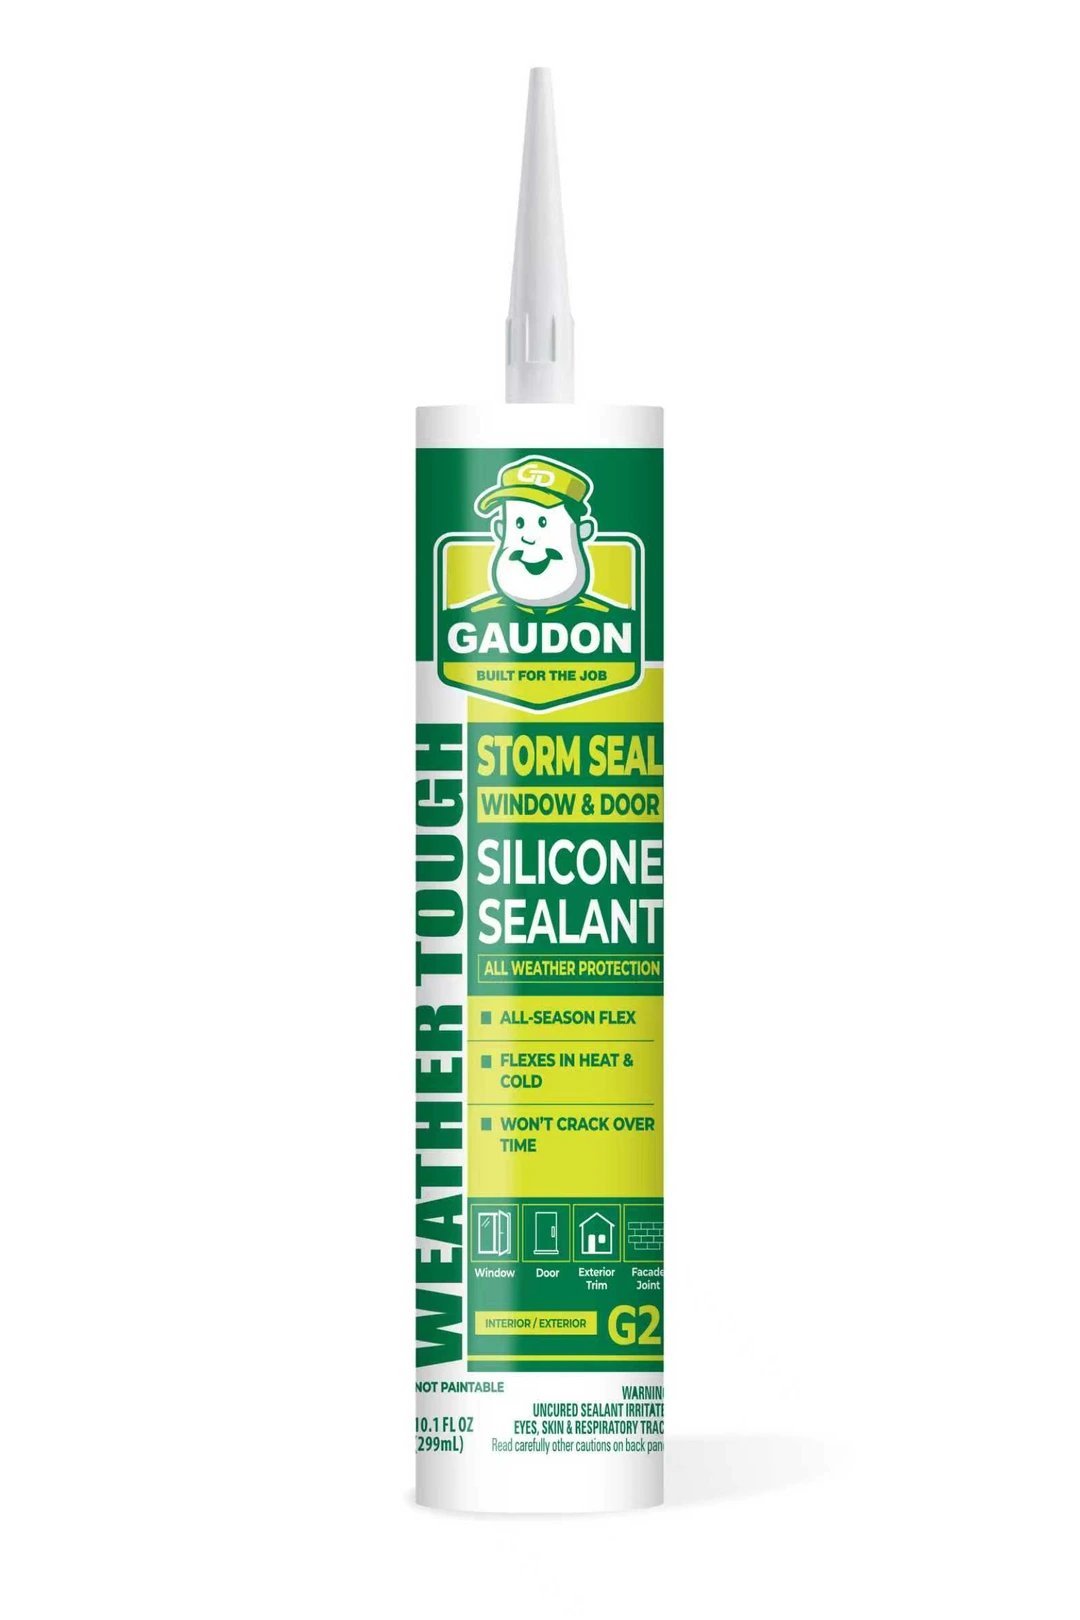
Products Used in This Guide
Professional-grade sealants built for the job.
Ready to put this on a job?
Samples ship to a business address for evaluation, case pricing is quoted directly, and the submittal builder assembles the data sheets a specification calls for.