How to Apply Silicone Sealant
Clean bead, no mess. Eight steps from prep to cure.
What You'll Need
Choose the right area to seal
Sealants are commonly used in areas where moisture, air leaks, or movement can cause problems. Common applications include around sinks, tubs, and showers, along backsplashes and countertops, around windows and doors, in joints between different building materials, and around trim, panels, and exterior gaps. Before starting, make sure the product you select matches the job. Wet areas like bathrooms and kitchens need a sealant suited for moisture exposure, while windows, doors, and exterior joints may require a product designed for weather resistance and flexibility.
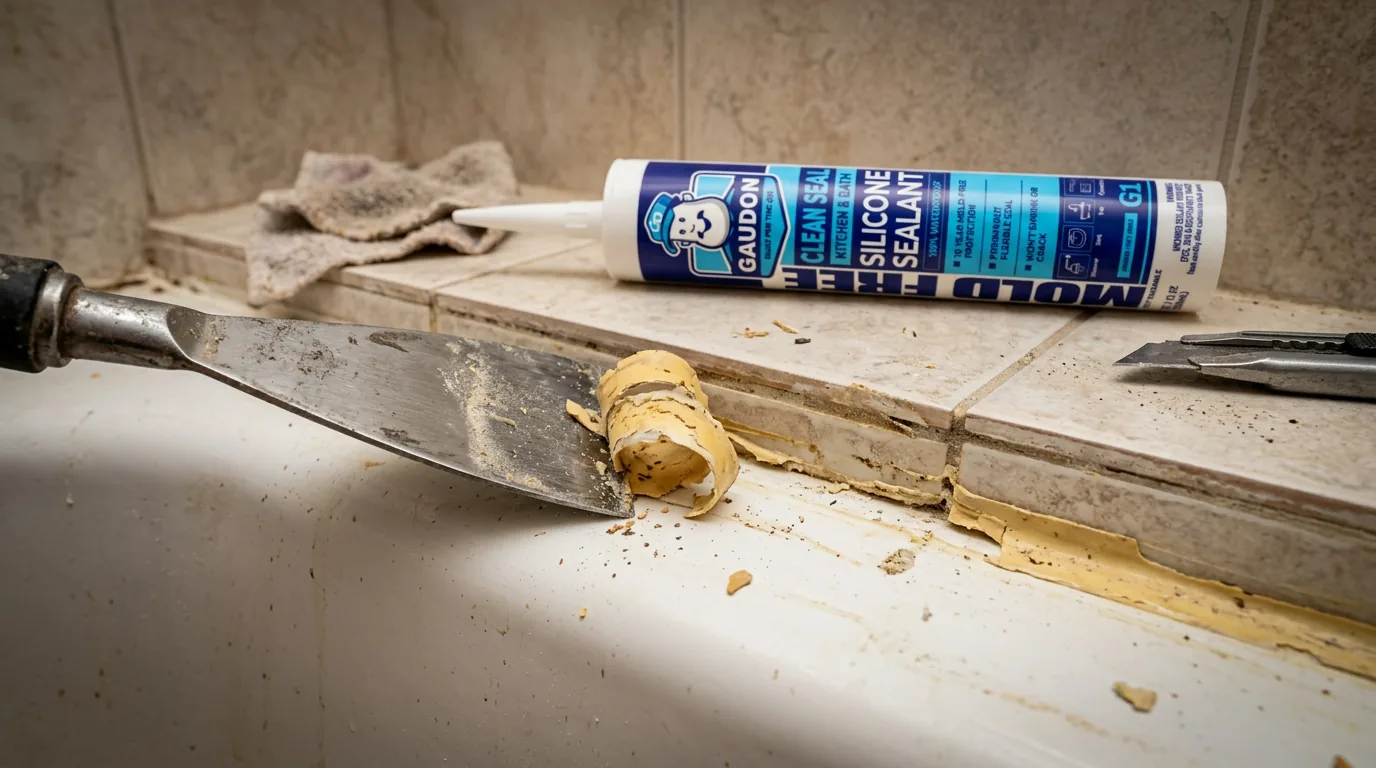
Remove old sealant if needed
If there is already sealant in the joint, remove as much of it as possible before applying new material. Applying fresh sealant over loose, dirty, or failing sealant can reduce adhesion and shorten the life of the repair. Use a scraper or remover tool to lift away the old bead. Once the bulk of the old material is gone, wipe the area clean to remove dust, soap film, grease, and debris.
Clean and dry the surface
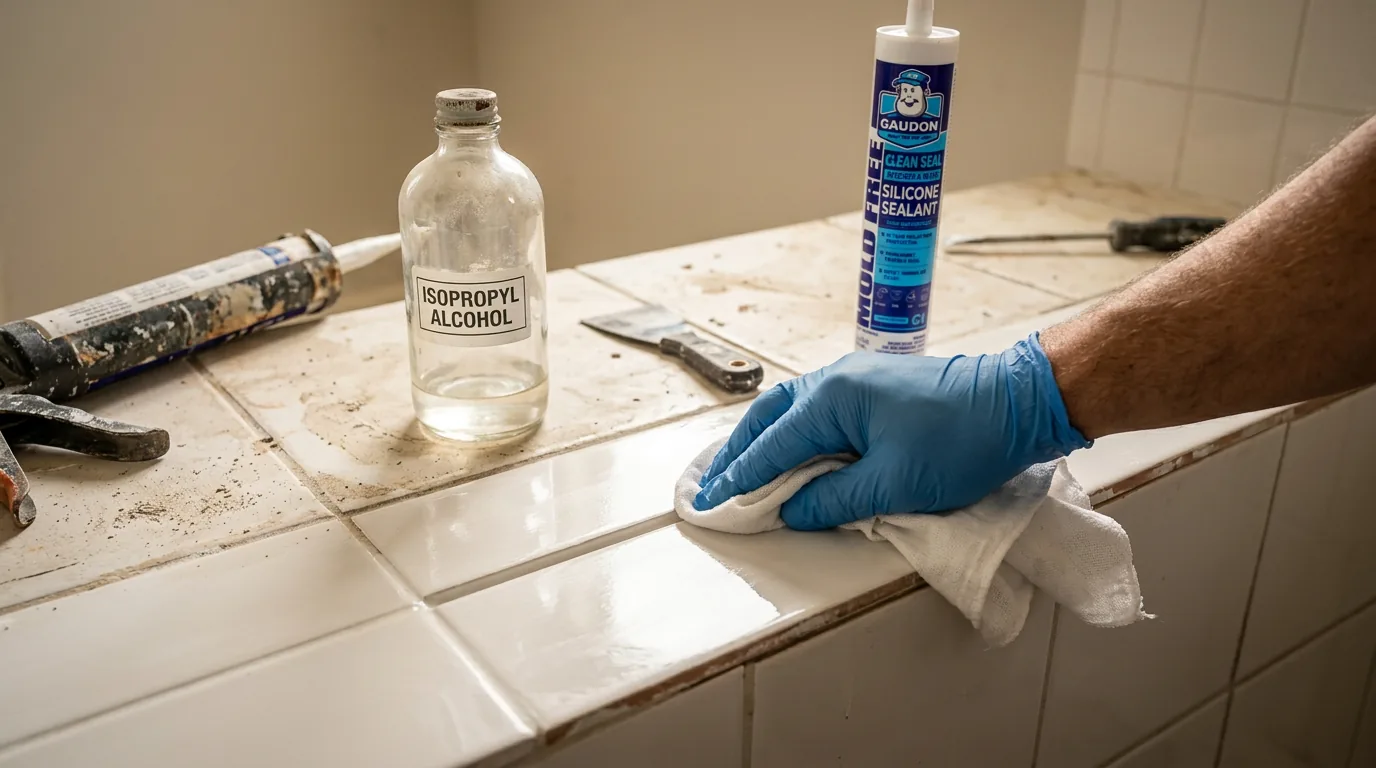
A strong seal starts with a clean surface. Dirt, moisture, or residue can prevent the sealant from bonding correctly. Wipe the joint with a suitable cleaner such as isopropyl alcohol, then allow it to dry completely. The surface should be smooth, clean, and dry before you begin applying the sealant. This step is one of the most important parts of the job. Even a high-quality sealant performs better when the surface is properly prepared.
Pro Tip
Use isopropyl alcohol for the final wipe. It evaporates quickly and leaves no residue behind, giving the sealant the cleanest possible bonding surface.
Prepare the cartridge
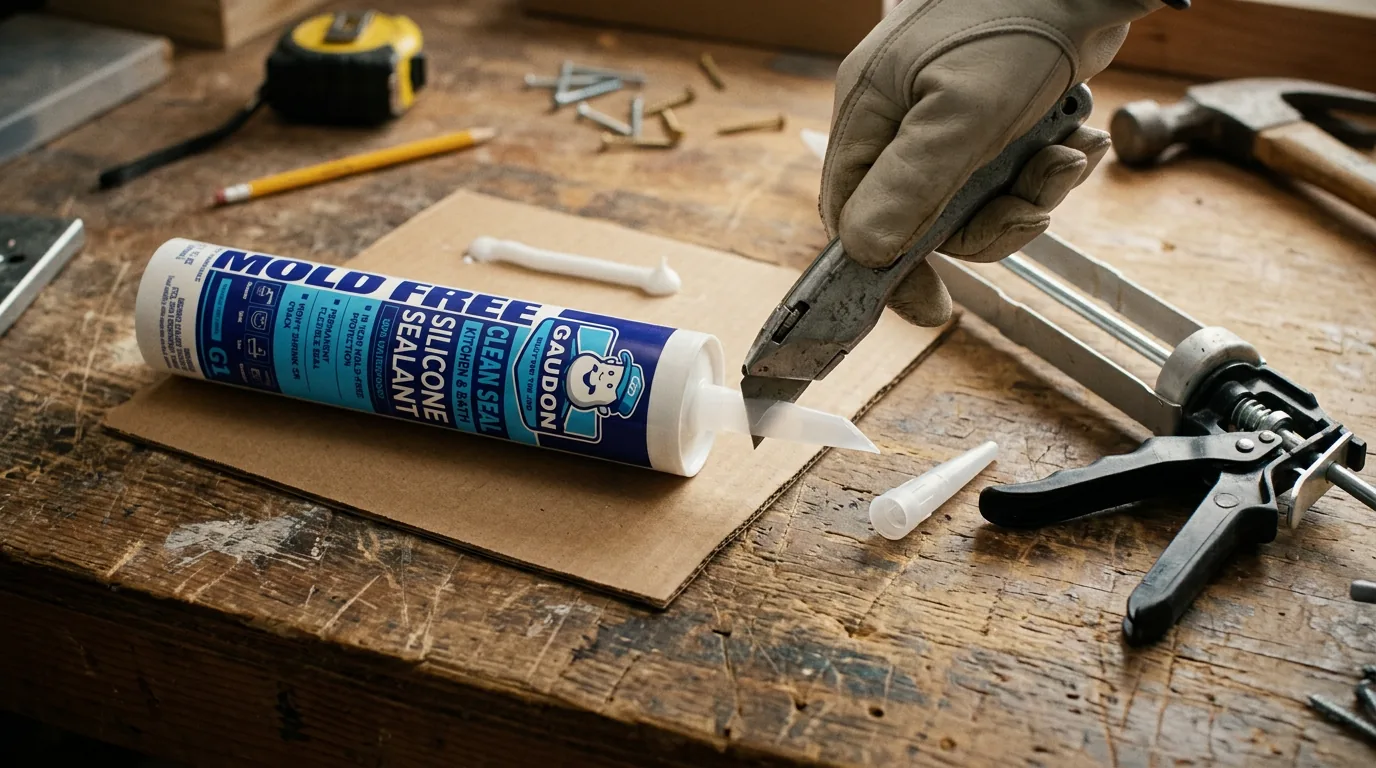
Cut the nozzle at a 45-degree angle. Start with a small opening, since it gives you better control and helps prevent using too much sealant at once. Load the cartridge into the caulking gun and test a small amount on scrap material or cardboard first. This helps you check the flow before working on the actual surface.
Pro Tip
A smaller, angled cut gives you far better bead control. You can always cut more off, but you can't add nozzle back.
Insert the cartridge into the gun
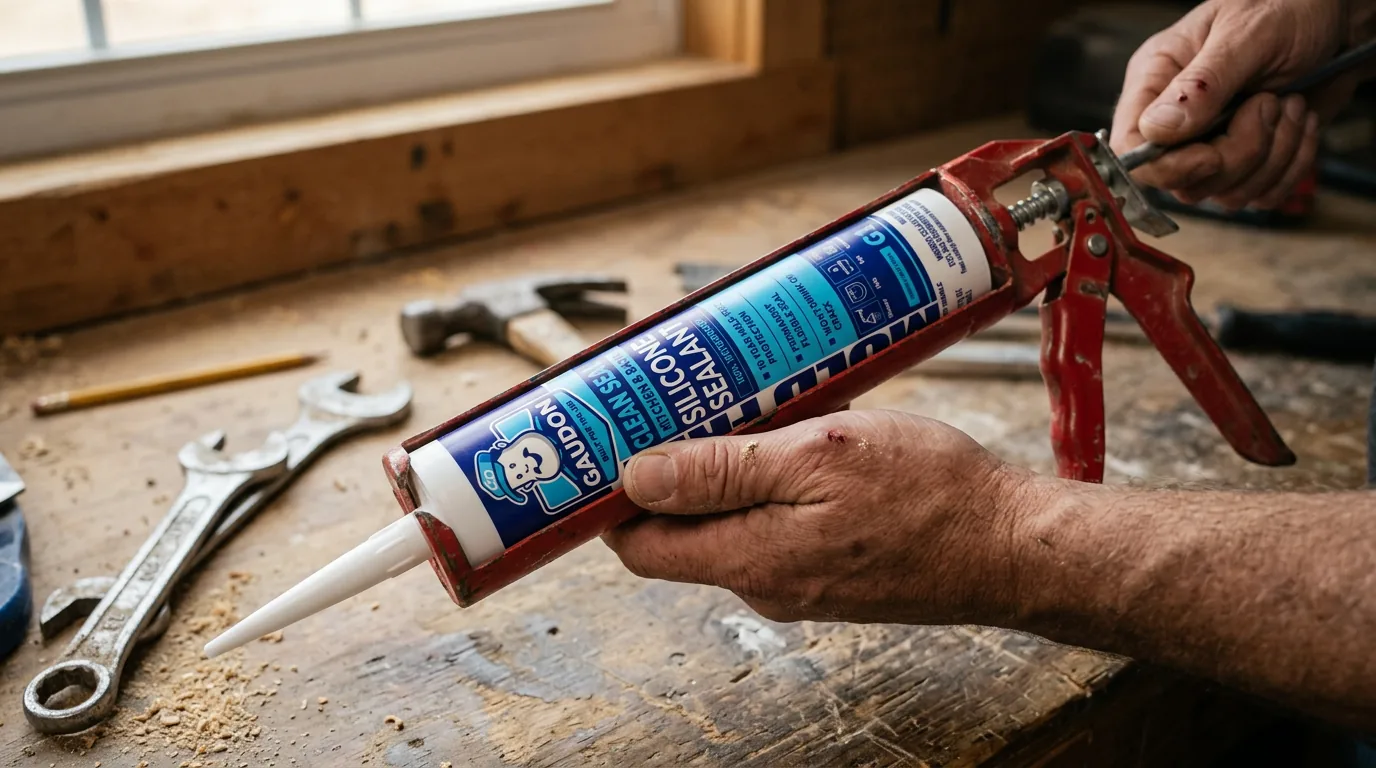
Insert the GAUDON sealant cartridge into the caulking gun and secure it firmly. Make sure the plunger is pressed against the back of the cartridge for consistent pressure.
Apply the sealant in one steady pass
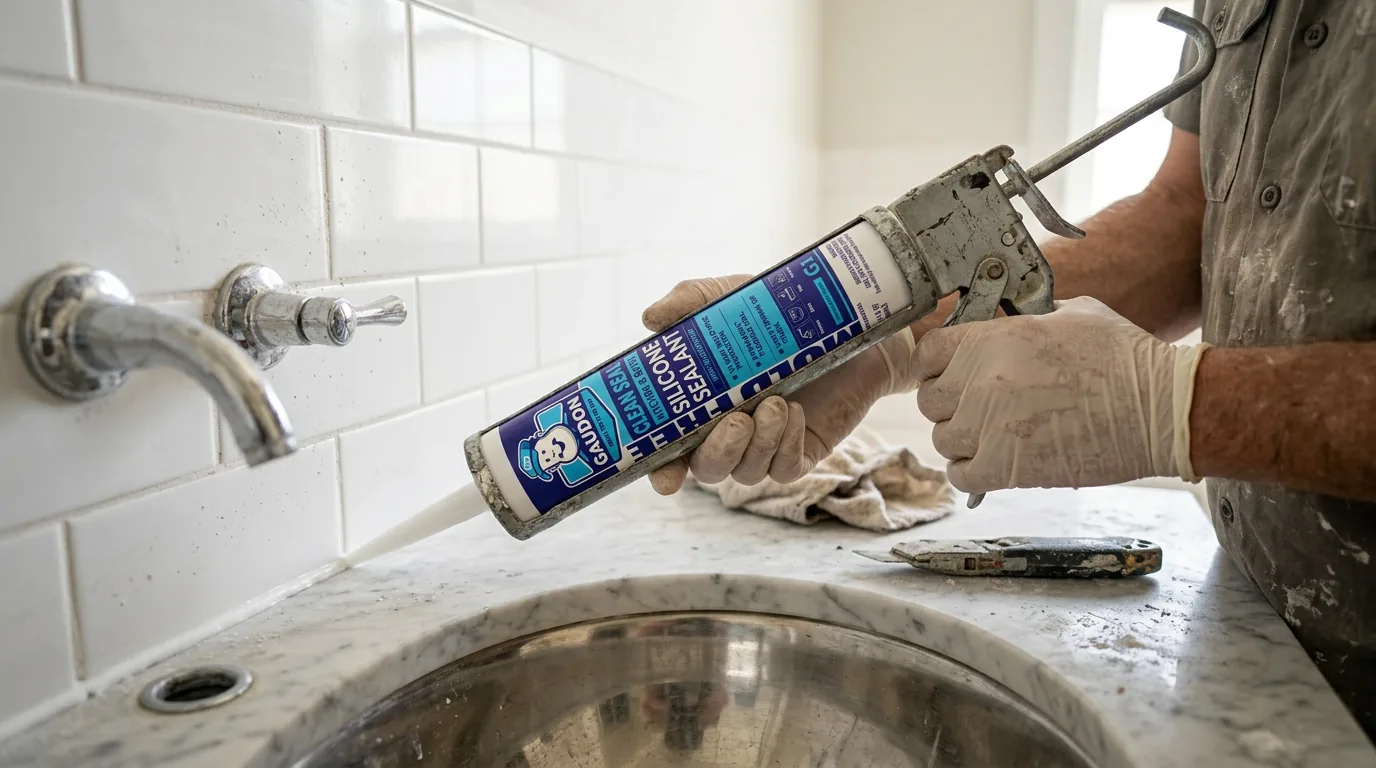
Hold the gun at a consistent angle and apply the sealant with even pressure. Move slowly and steadily along the joint so the bead stays continuous. Try not to stop and start too often. A single smooth pass usually creates the cleanest result. Apply only enough sealant to fill the joint without overloading it.
Pro Tip
Steady pressure and controlled flow are key. Uneven application leads to extra cleanup and weaker-looking results.
Smooth the bead
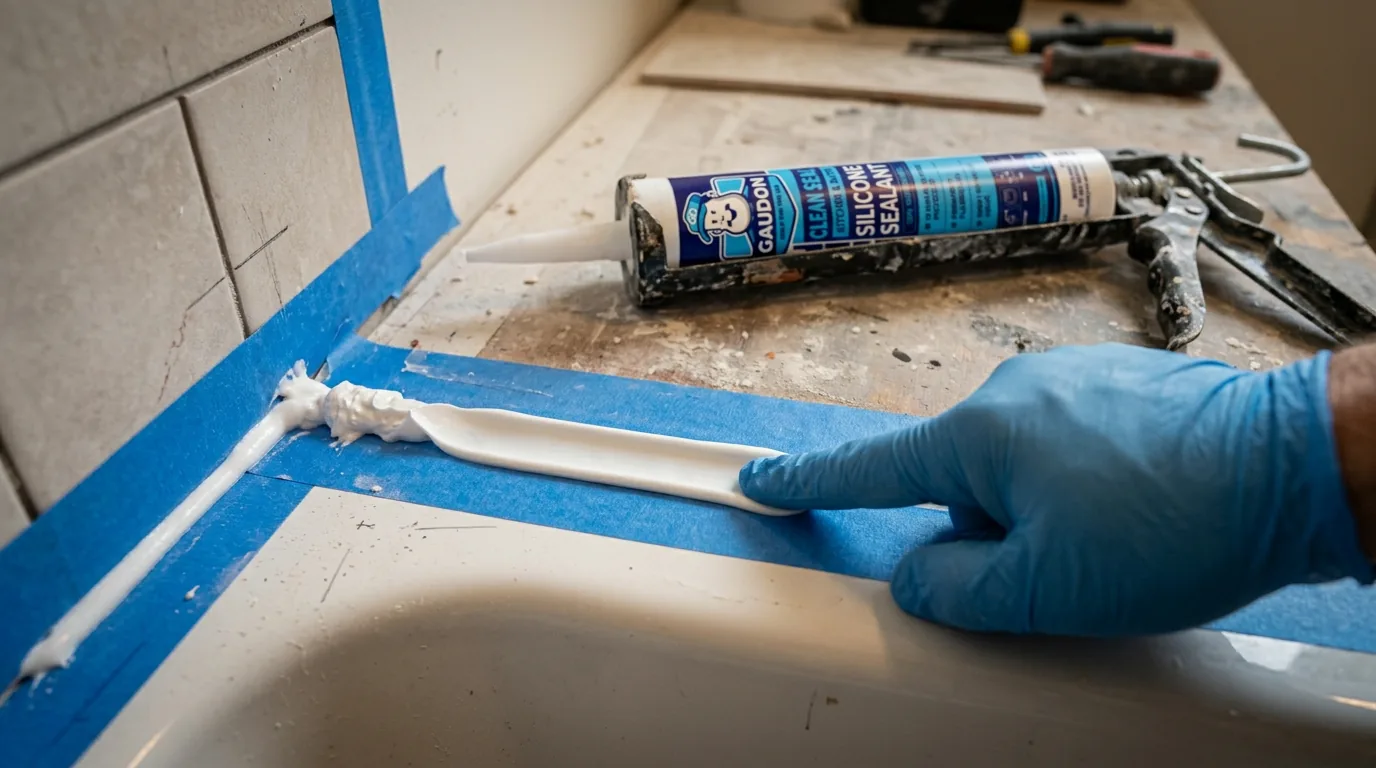
After applying the sealant, smooth it right away using a sealant finishing tool or a gloved finger, depending on the application. This helps press the sealant into the joint, improve contact with the surfaces, and create a neat appearance. Work gently and avoid overtooling. The goal is a smooth, even bead that fully covers the joint without smearing sealant across the surrounding area. If you used painter's tape, remove it while the sealant is still wet for the cleanest edge.
Let it cure fully
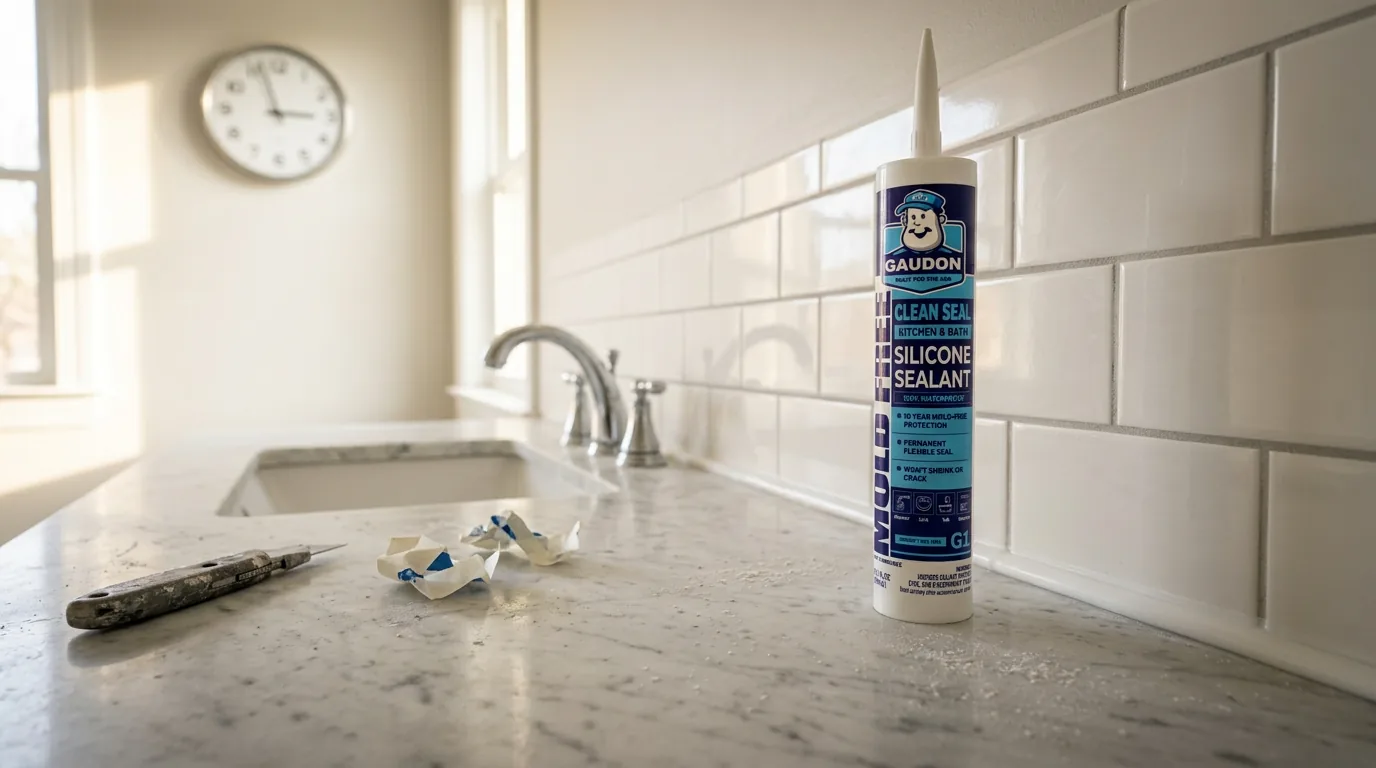
Once the sealant is applied and finished, let it cure according to the product instructions before exposing it to water, cleaning, painting, or heavy use. Cure time can vary depending on the formula, room temperature, humidity, and bead size. Always follow the instructions on the product packaging for best results.
Common Mistakes to Avoid
Applying over dirt or moisture
Sealant bonds best to clean, dry surfaces.
Cutting the nozzle too wide
A large opening can create messy, oversized beads that are hard to control.
Using too much product
More sealant does not always mean a better seal. A properly sized bead usually performs and looks better.
Skipping the smoothing step
Tooling the bead helps improve both appearance and contact with the surface.
Not allowing enough cure time
Using the area too soon can damage the seal before it has fully set.
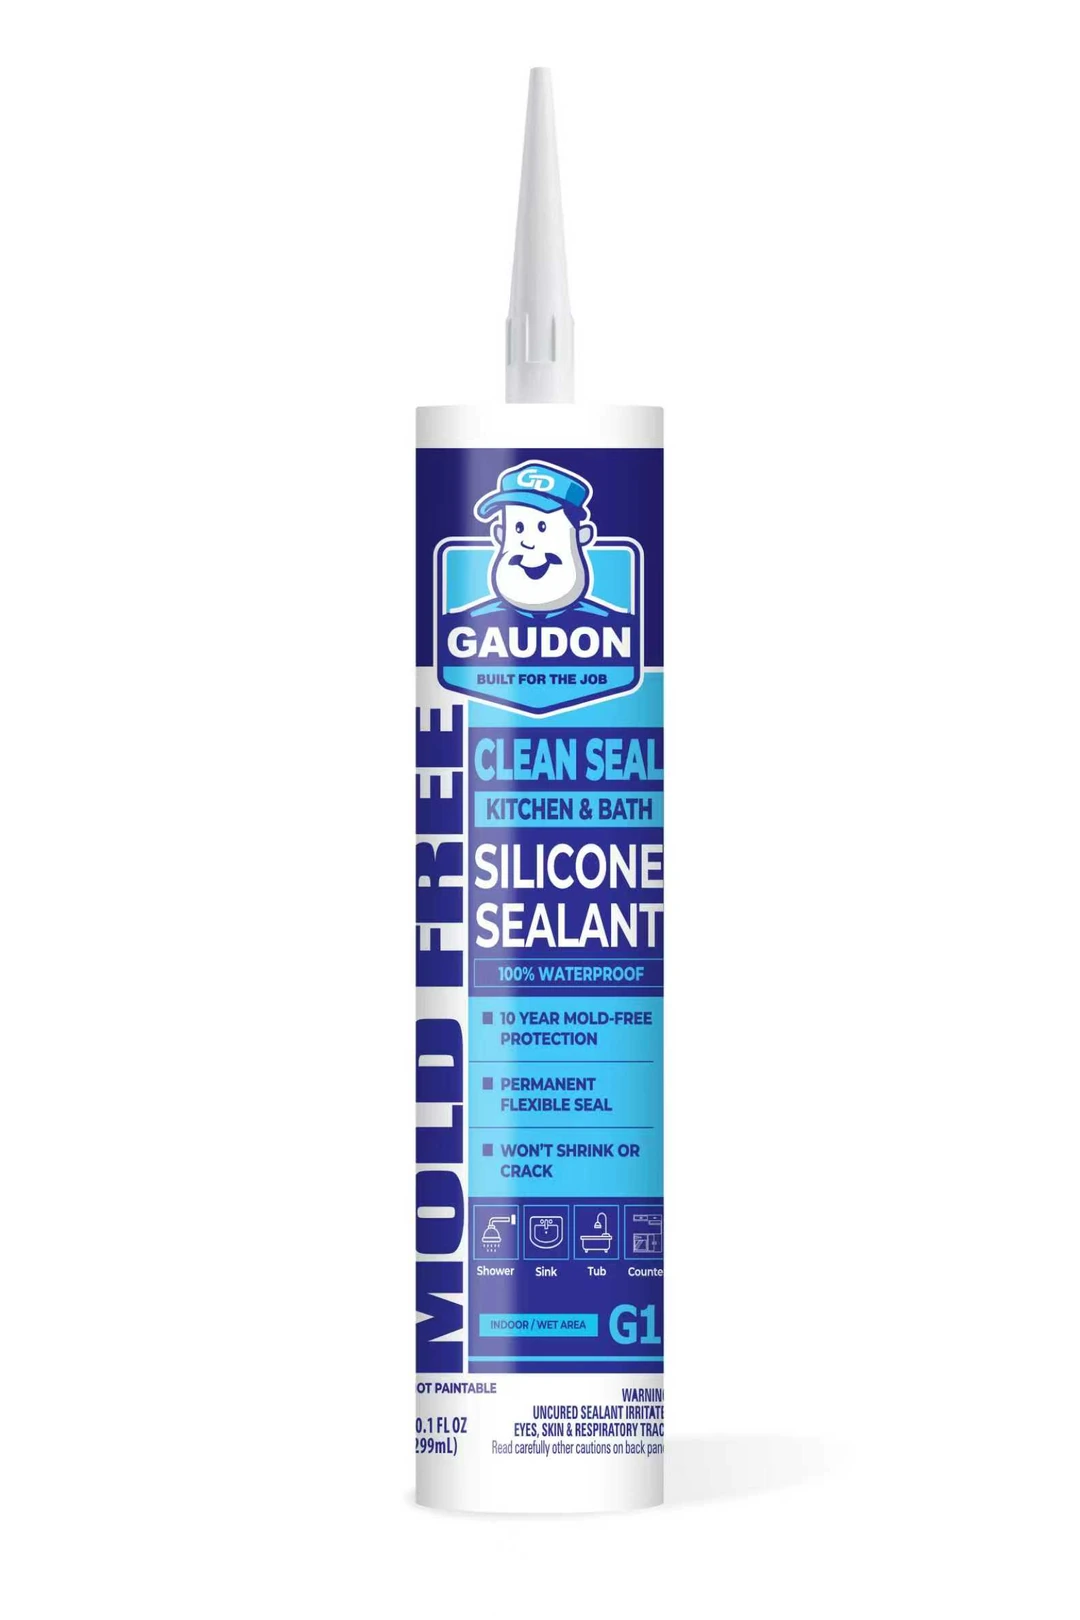
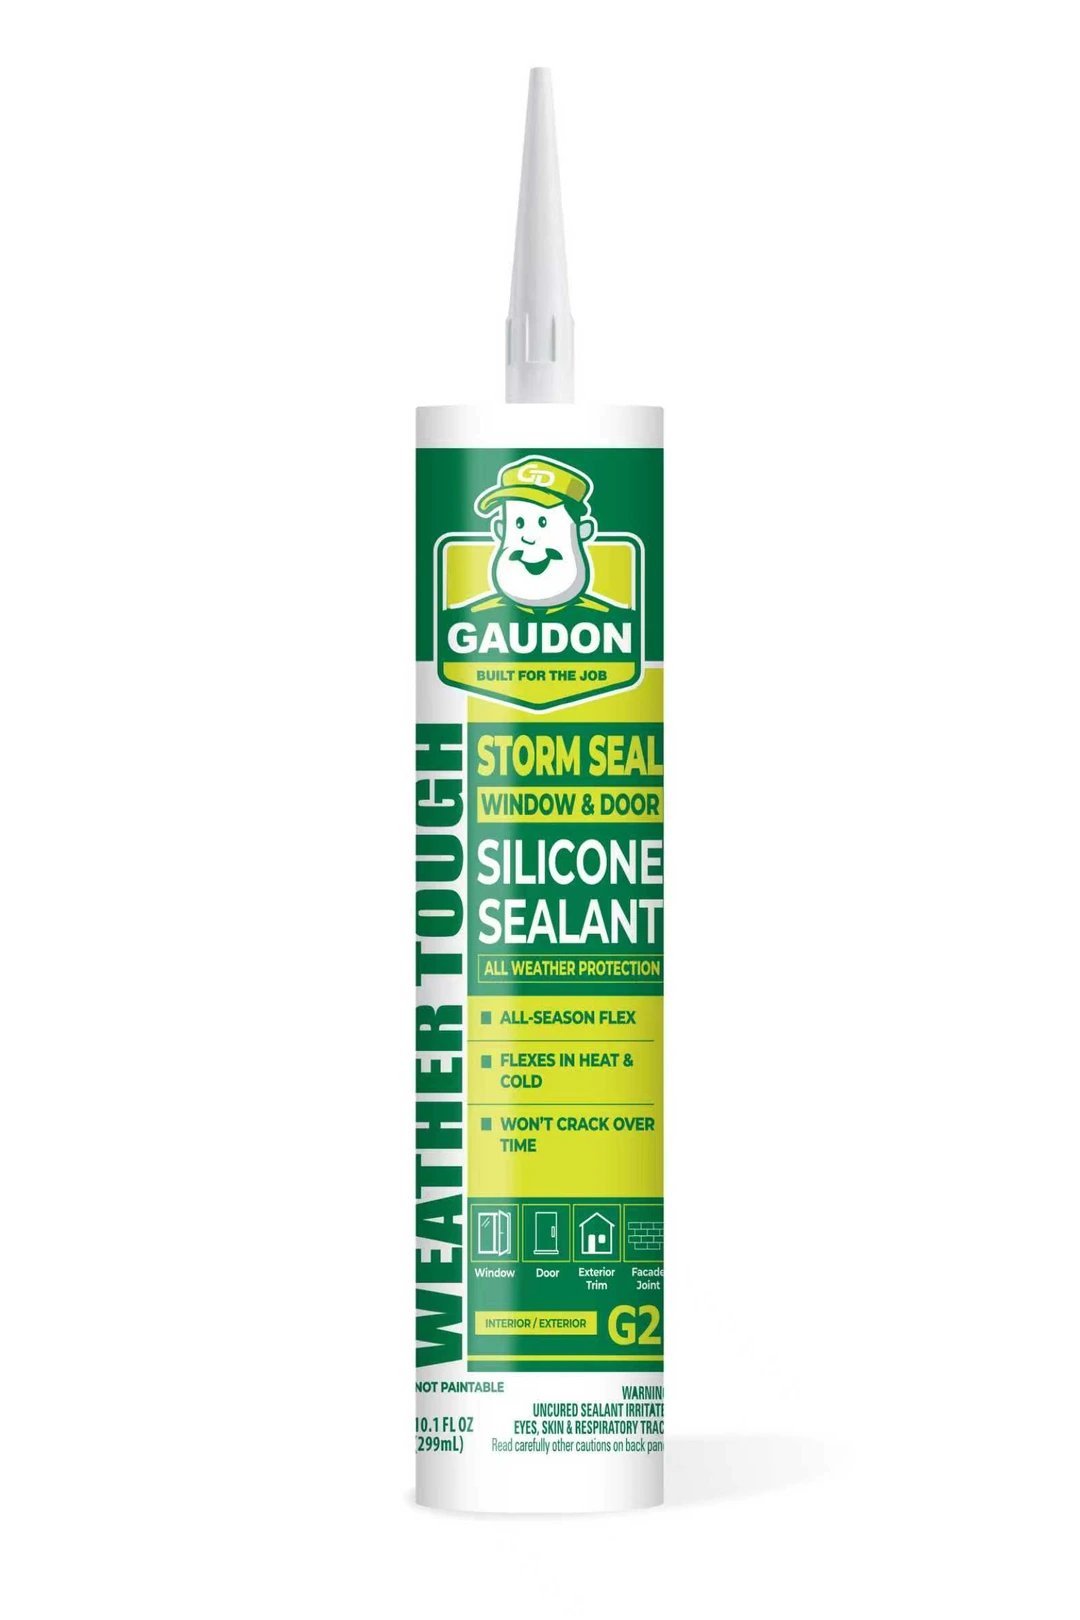
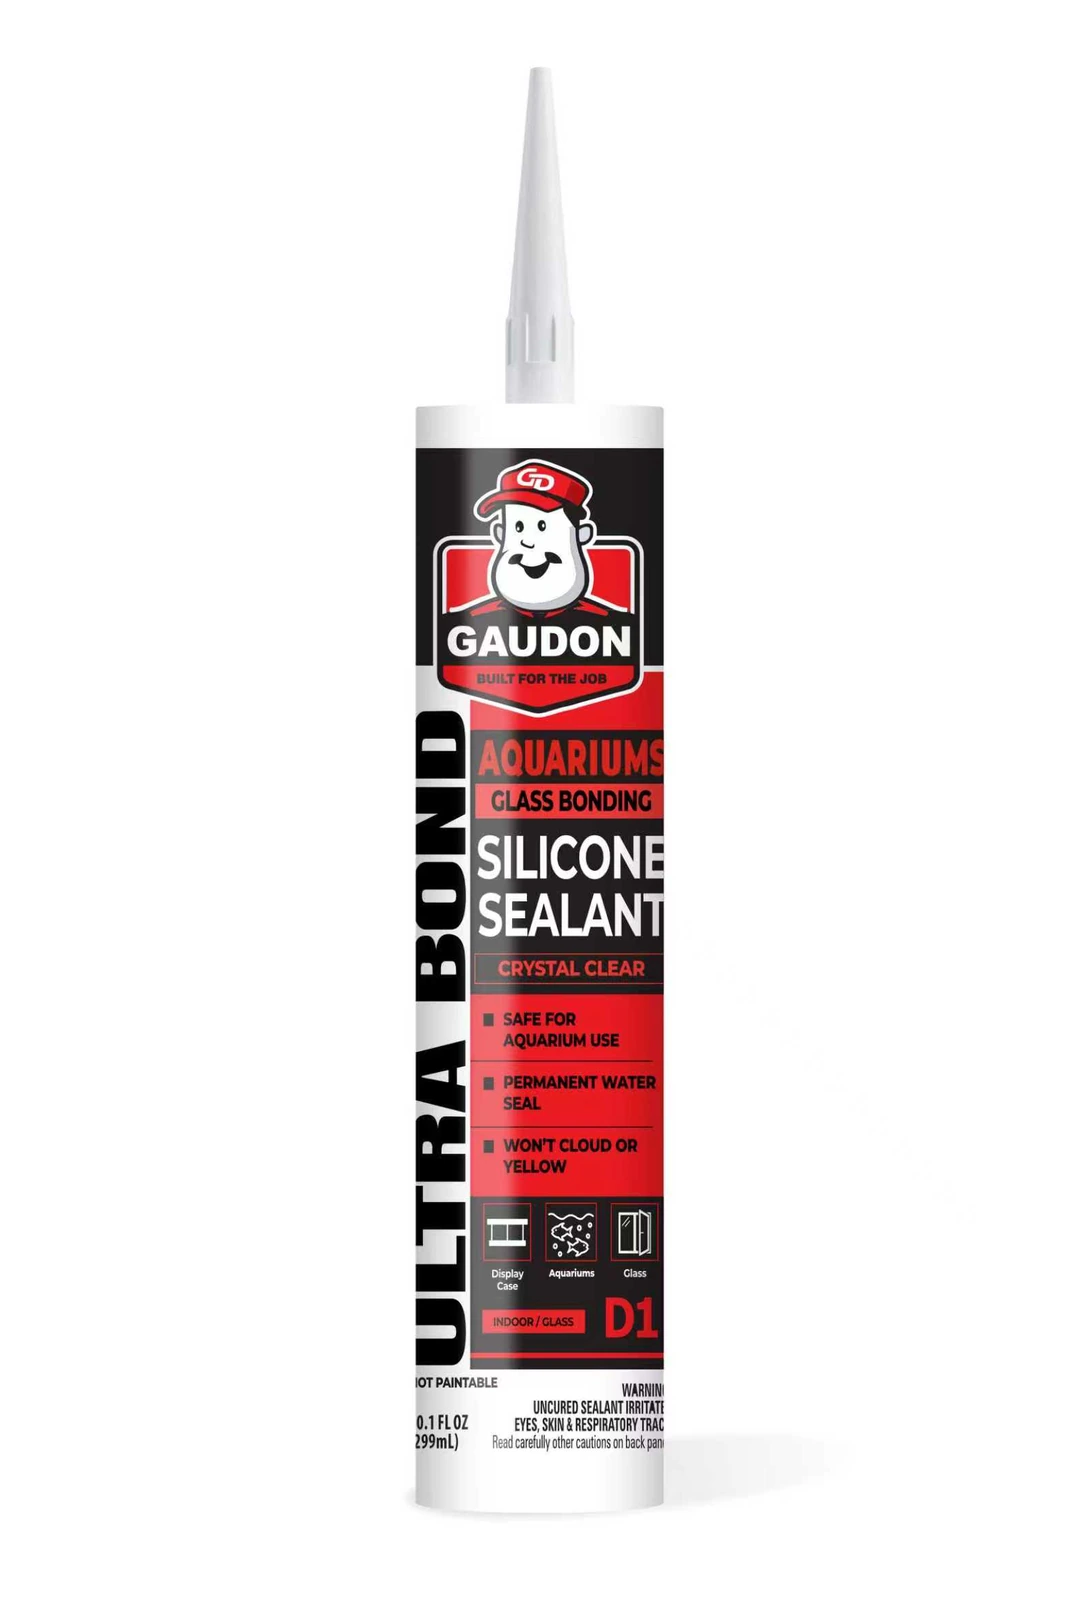
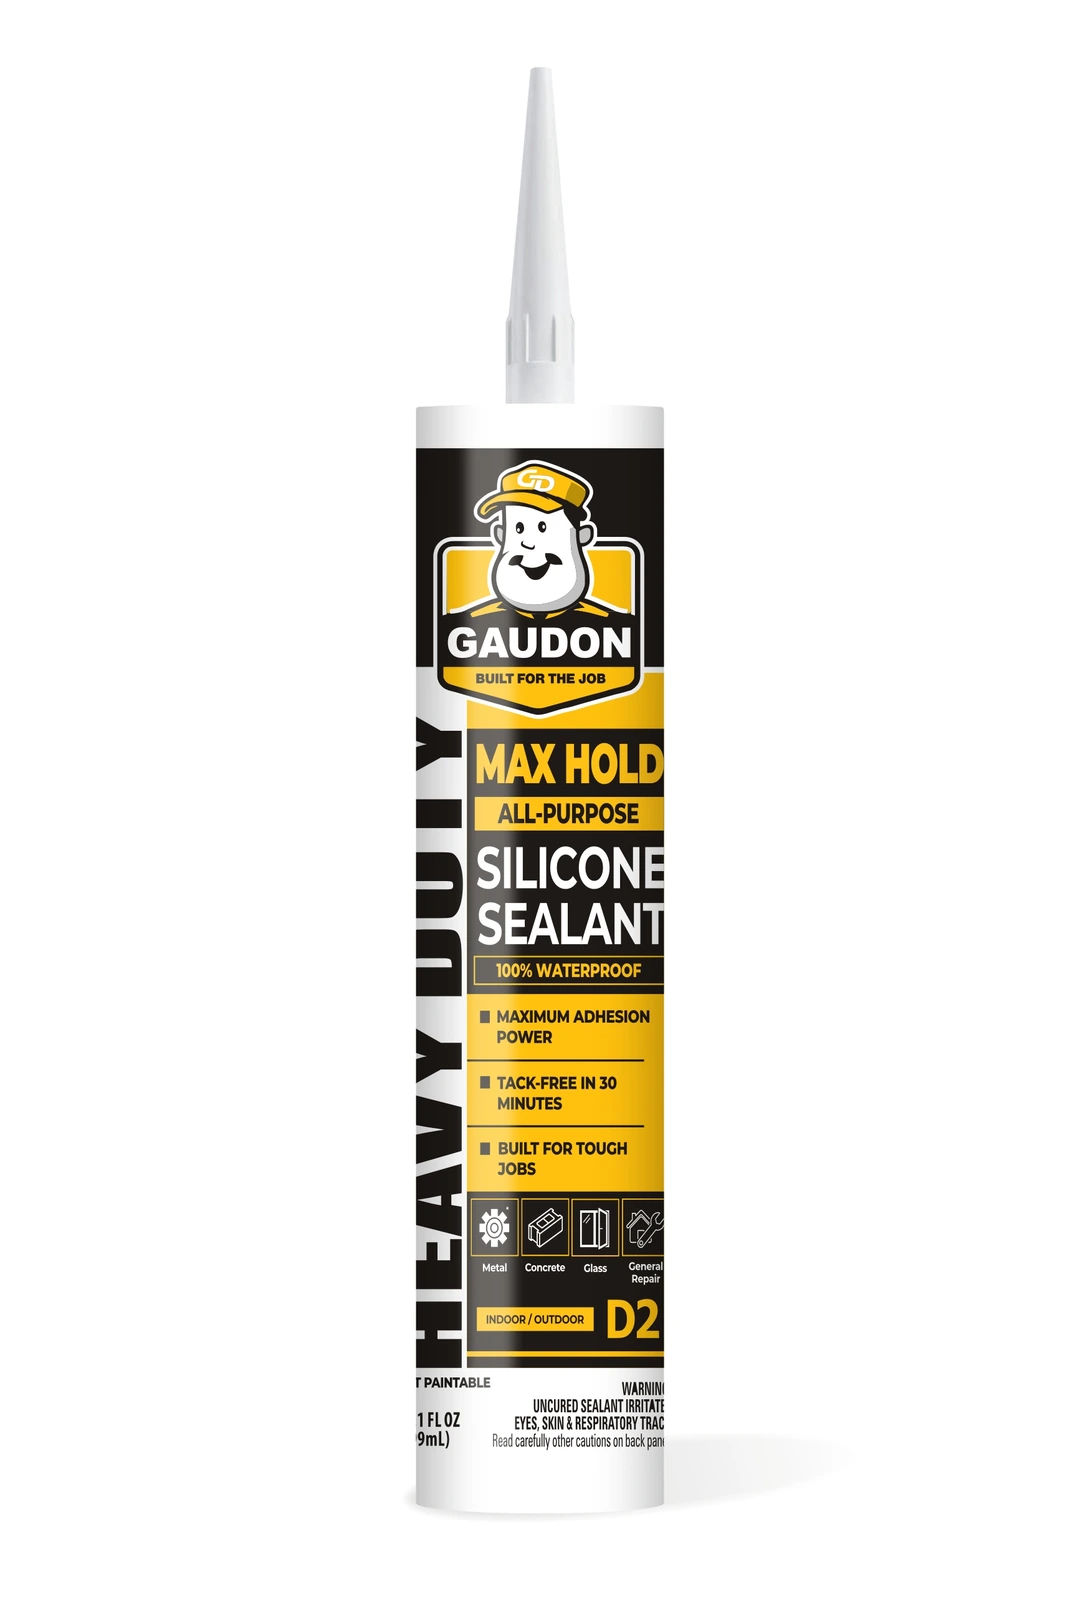
Products Used in This Guide
Professional-grade sealants built for the job.
Ready to put this on a job?
Samples ship to a business address for evaluation, case pricing is quoted directly, and the submittal builder assembles the data sheets a specification calls for.