Prep Your Surface First
Most sealant failures start before you open the tube. Prep right, seal once.
What You'll Need
Figure out what you're working with
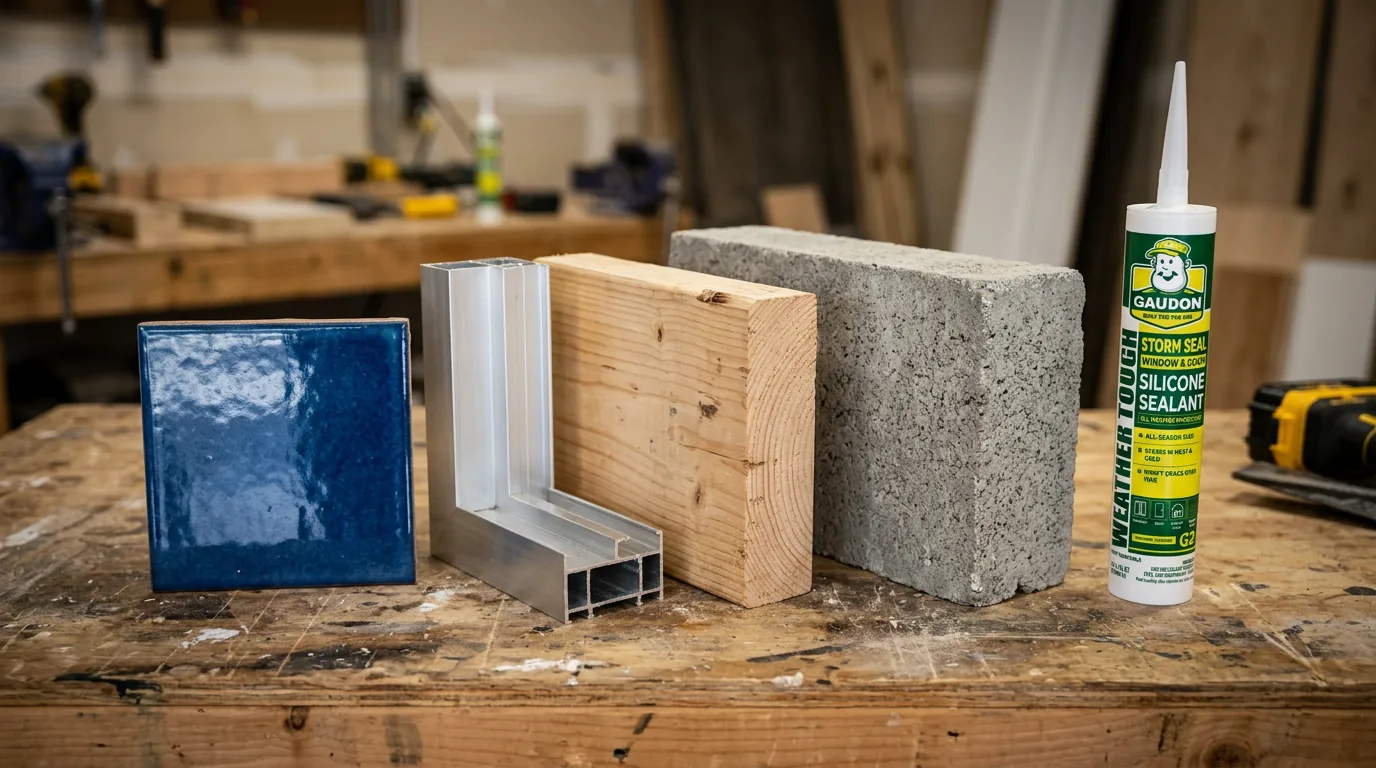
Different materials need different prep. Glazed tile and glass are non-porous, so they mainly need a good cleaning. Metal frames (aluminum, steel) may have oxidation or oil residue from manufacturing. Wood absorbs moisture and can swell, so it needs to be dry and stable before you seal. Concrete and masonry are porous and dusty, which means sealant can have trouble gripping unless the surface is treated first. Take a minute to identify your substrate before reaching for a cleaner. The wrong prep can be just as bad as no prep at all.
Strip out any old sealant or coating
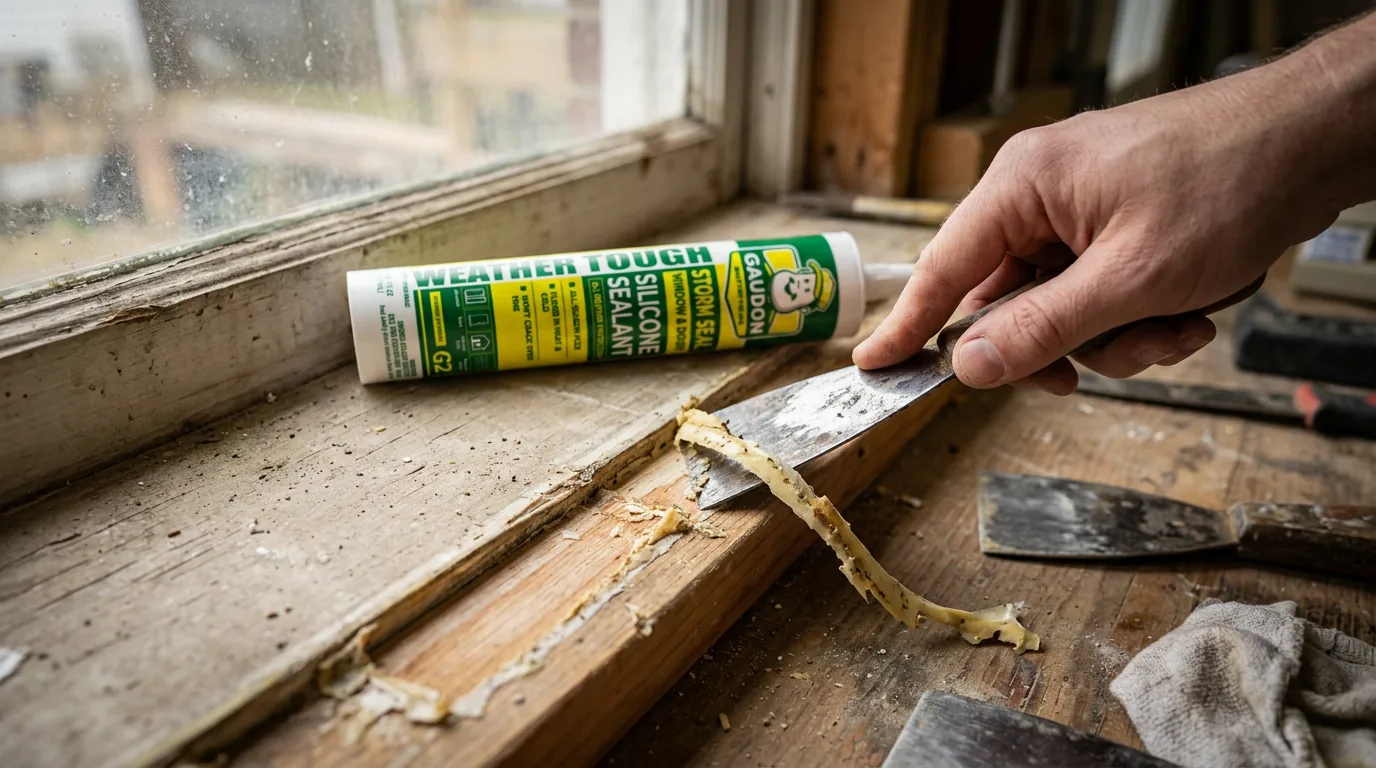
Fresh sealant does not bond well to old sealant. Period. If there's existing material in the joint, it needs to come out. Use a scraper or utility knife to cut along both edges of the old bead, then peel it away. For stubborn silicone, a chemical sealant remover can soften the residue and make scraping easier. Get the joint as clean as possible. Any leftover film acts as a barrier between the new sealant and the surface, and that means the bond is only as strong as whatever's left behind.
Clean the surface thoroughly
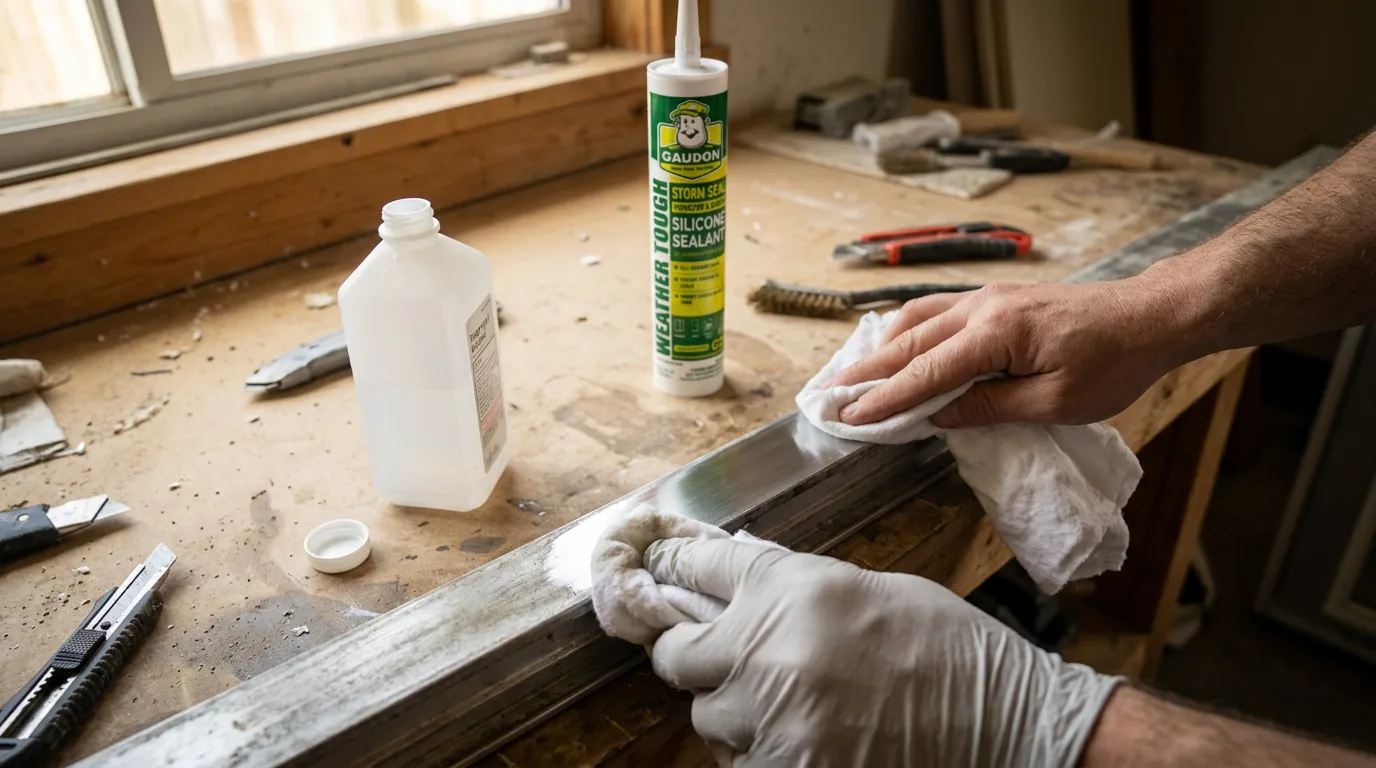
Once old material is removed, clean the bonding surfaces with isopropyl alcohol. Soak a clean rag and wipe each side of the joint. For metal surfaces, this also removes light oils and fingerprints. For tile or glass, it cuts through soap scum and mineral deposits. Use a fresh section of the rag for each wipe so you're not just spreading residue around. Let the alcohol evaporate completely before applying sealant.
Pro Tip
Use the two-rag method: wipe with a wet rag, then immediately follow with a dry one. This lifts contaminants off the surface instead of letting them resettle as the solvent dries.
Handle porous materials differently
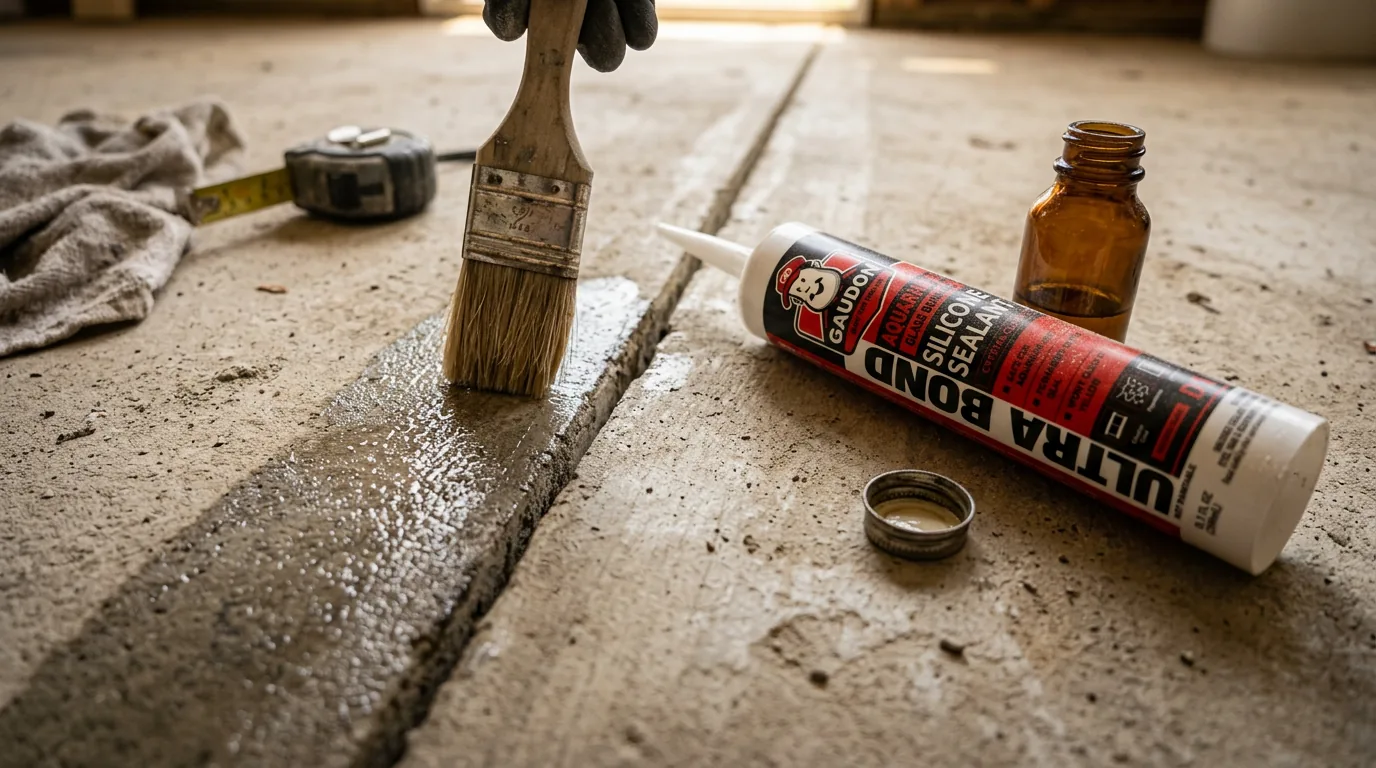
Concrete, brick, natural stone, and untreated wood have tiny pores that absorb liquids. When sealant seeps into those pores unevenly, the bond weakens. For these surfaces, apply a compatible primer before sealing. The primer fills the pores and creates a uniform bonding layer. Check the sealant's technical data sheet for primer recommendations. Not every situation needs a primer, but when the substrate is rough, dusty, or absorbent, it makes a real difference.
Make sure everything is bone dry
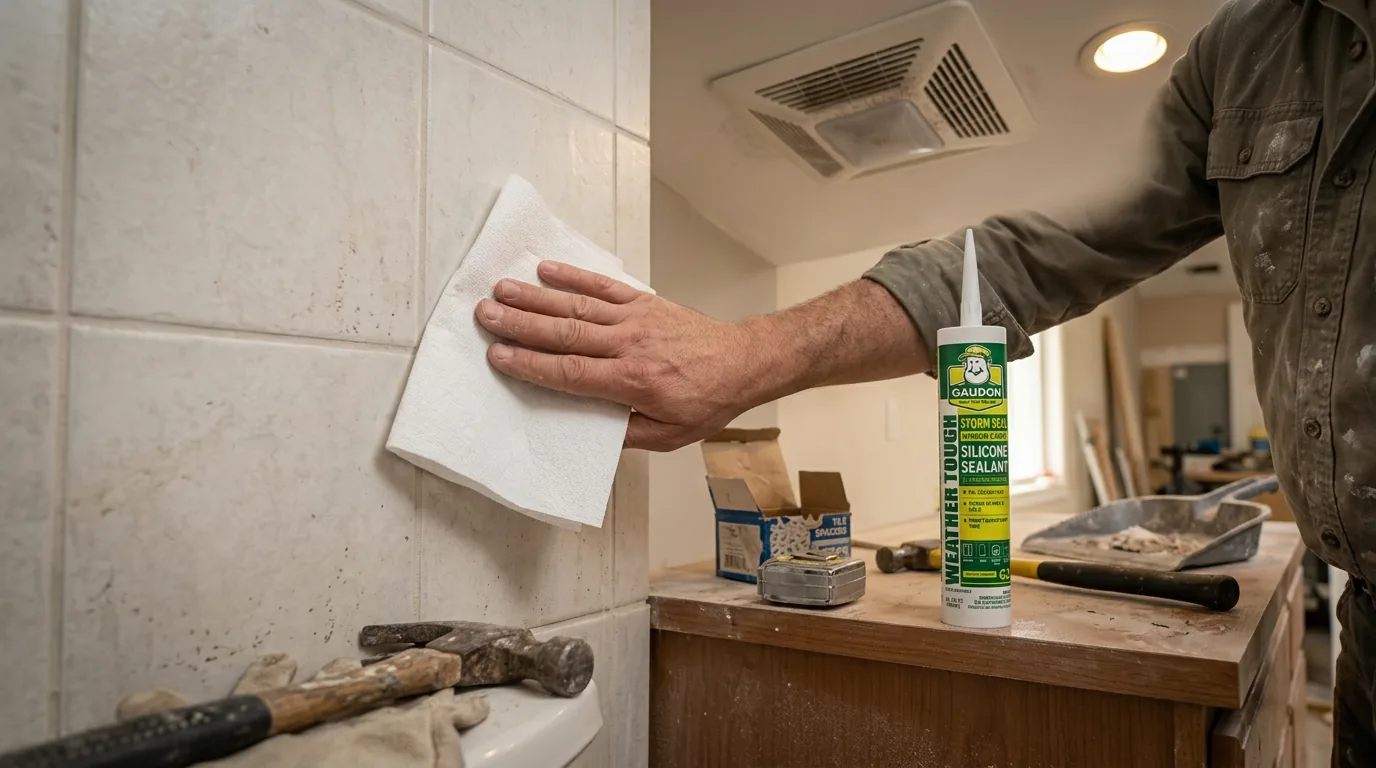
Moisture is the number one reason sealant peels off within the first year. Even surfaces that look dry can hold moisture in the pores or in hairline cracks. If you cleaned with water at any point, wait at least 24 hours for non-porous surfaces and longer for porous ones. In bathrooms, run the exhaust fan for a few hours before sealing. If you're working outside, avoid sealing within 24 hours of rain. Test by pressing a dry paper towel against the joint for 30 seconds. Any dampness means you're not ready yet.
Pro Tip
If you're on a tight schedule, a heat gun on a low setting can speed up drying. Keep it moving and don't overheat the surface, especially on plastic or vinyl.
Mask off the joint
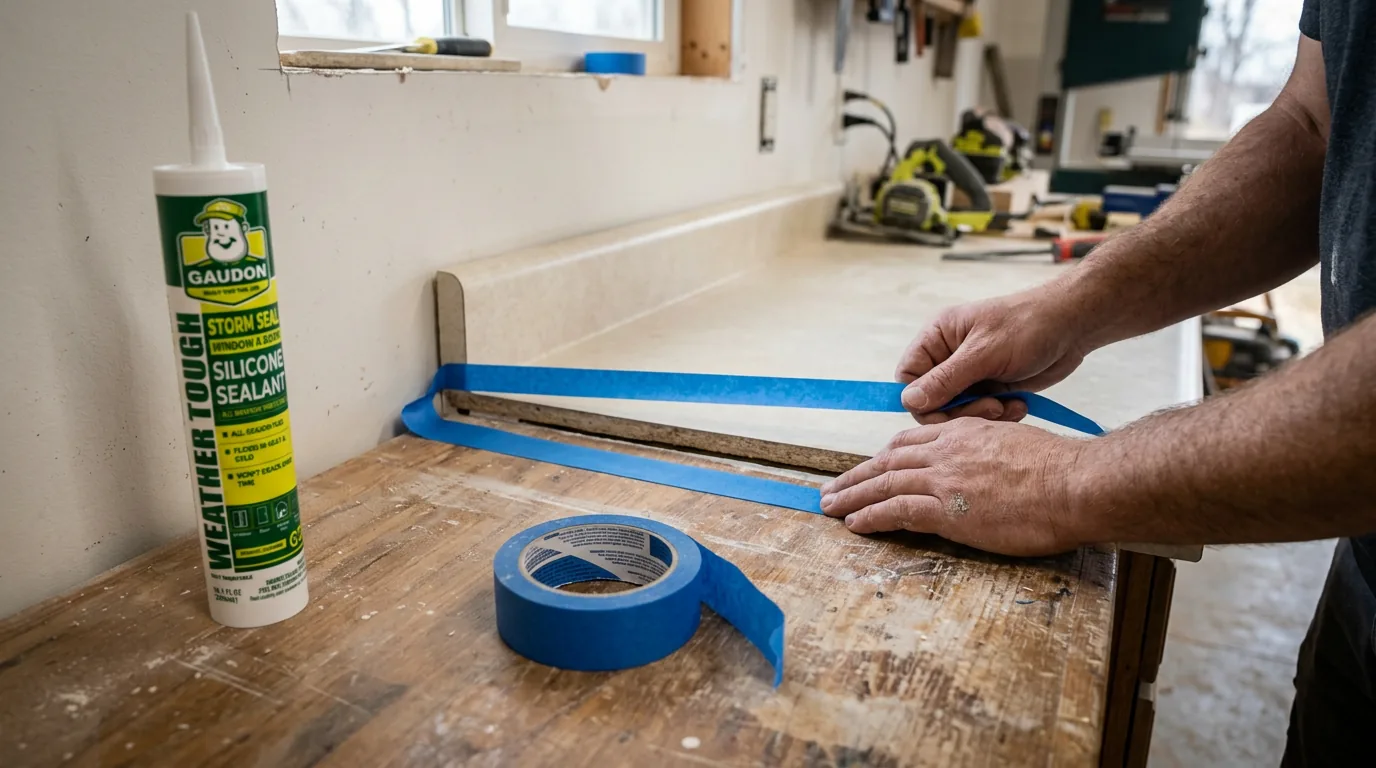
Apply painter's tape along both sides of the joint before you start sealing. This gives you clean, straight edges and protects surrounding surfaces from smears. Place the tape about 2-3mm from the edge of the joint on each side. Press it down firmly so sealant doesn't bleed underneath. The tape also helps you see the joint width clearly, which makes it easier to apply a consistent bead.
Check the joint depth
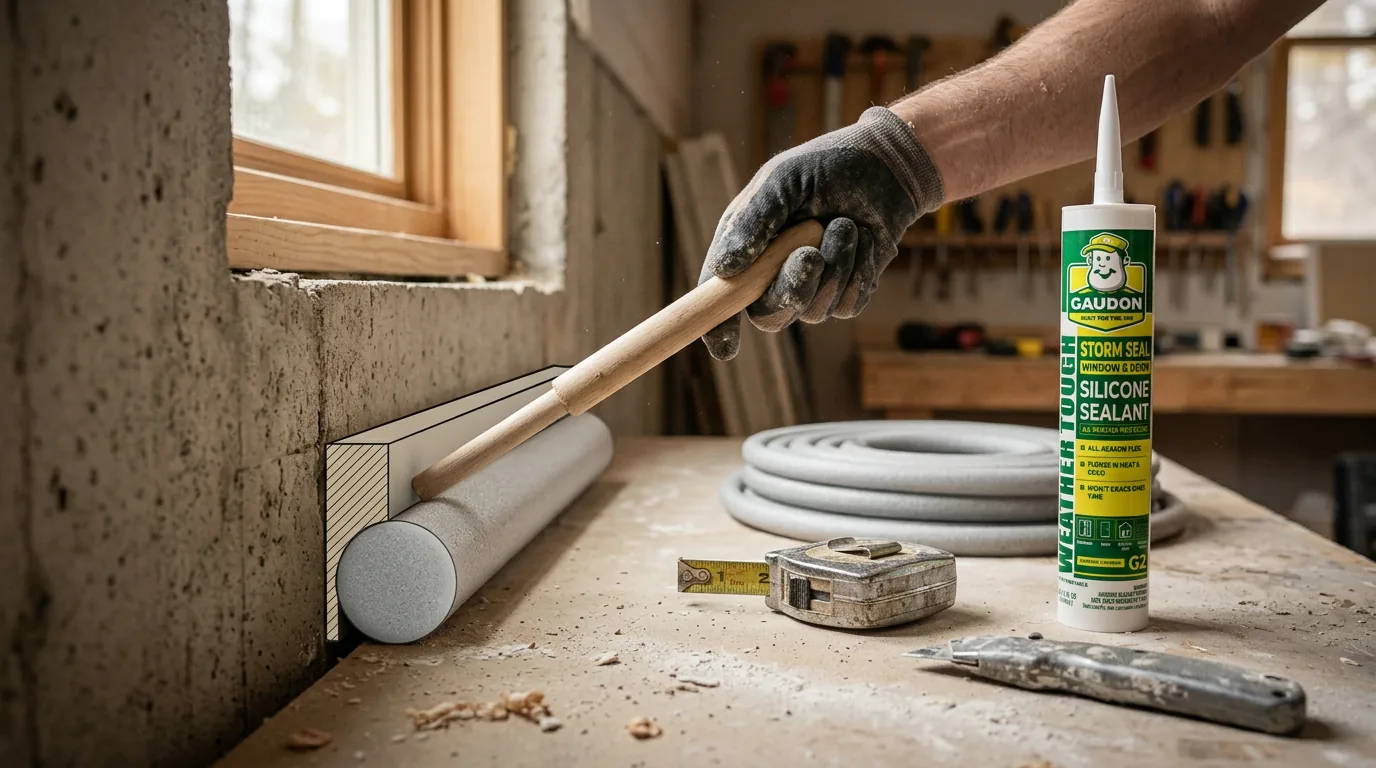
Sealant performs best when the bead is wider than it is deep. The ideal ratio is roughly 2:1 (width to depth). If the joint is deeper than 12mm, use a backer rod to fill the excess depth before sealing. A backer rod is a foam rope that sits in the joint and gives the sealant something to press against without wasting product on a deep fill. It also helps the sealant cure properly, since thick beads take much longer to set and are more prone to bubbling.
Pro Tip
Pick a backer rod that's slightly wider than the joint so it compresses in place and stays put. You shouldn't need adhesive to hold it.
Common Mistakes to Avoid
Cleaning with soapy water and calling it done
Soap leaves a thin film that reduces adhesion. Always follow with isopropyl alcohol.
Sealing over damp surfaces
Even slight moisture can cause adhesion failure within months.
Skipping primer on concrete or masonry
Porous surfaces need primer. Without it, the sealant may peel at the edges.
Leaving dust in the joint
Dust acts like a release agent. Vacuum or blow out joints before sealing.
Filling deep joints without backer rod
Thick beads cure slowly and can crack or bubble. Use backer rod for joints deeper than 12mm.
Products Used in This Guide
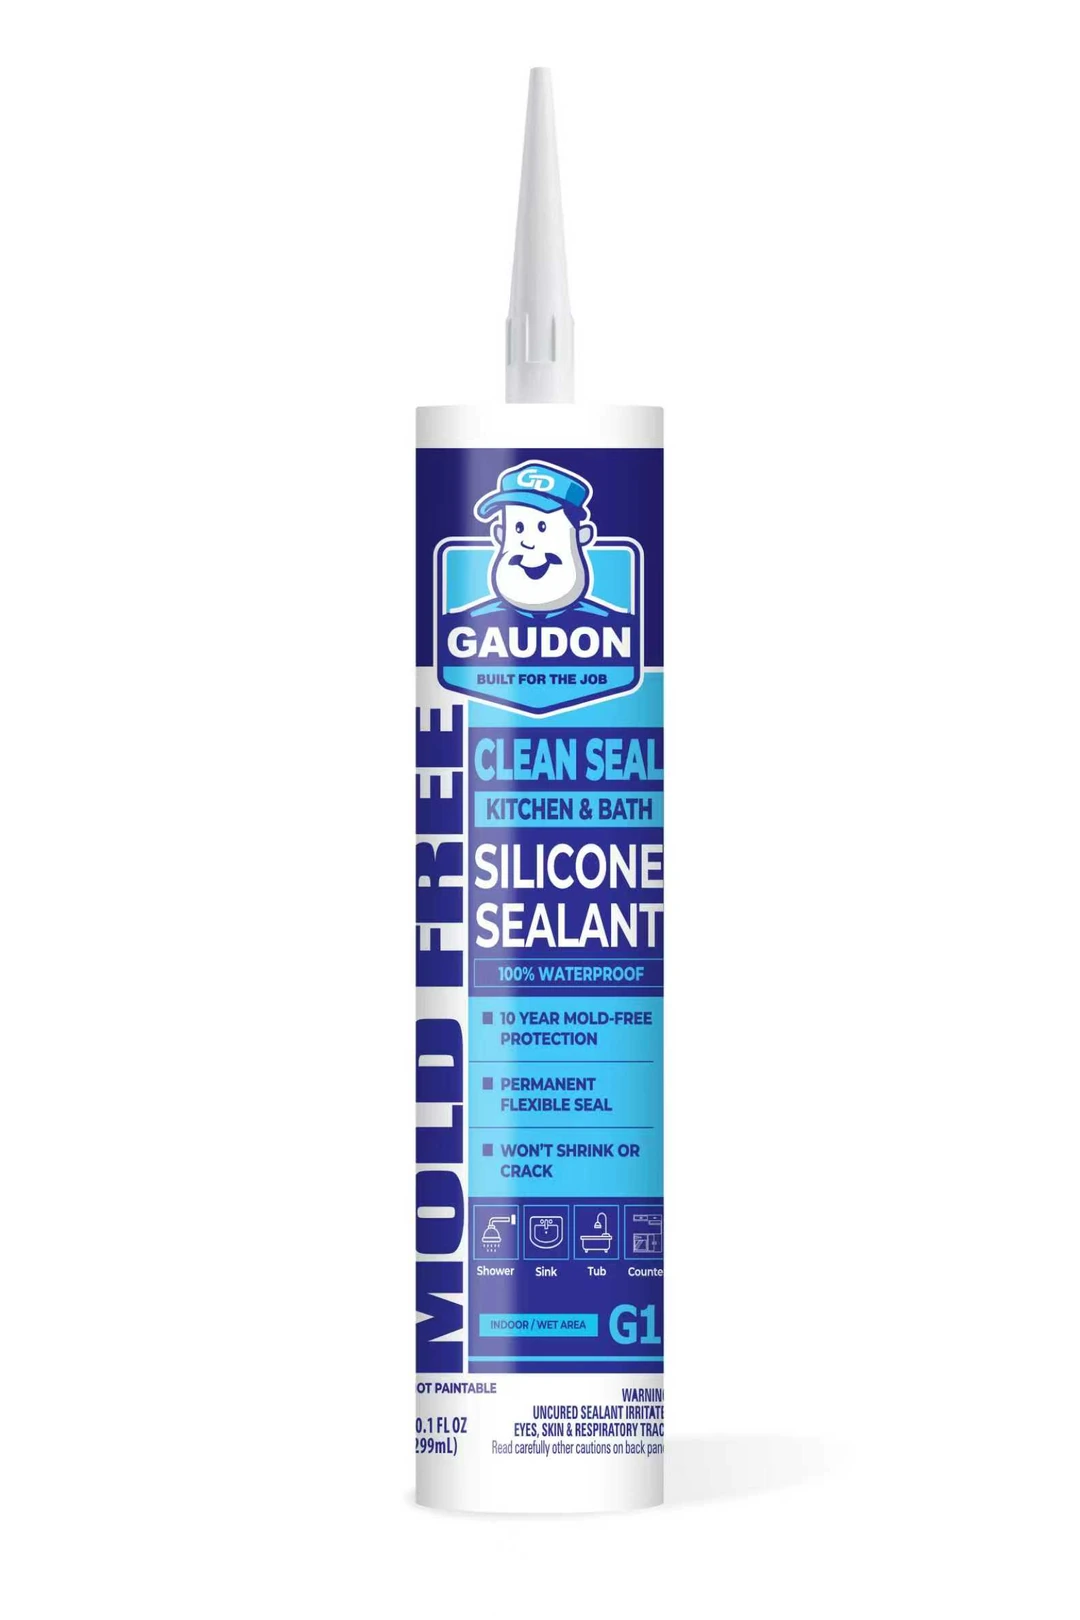
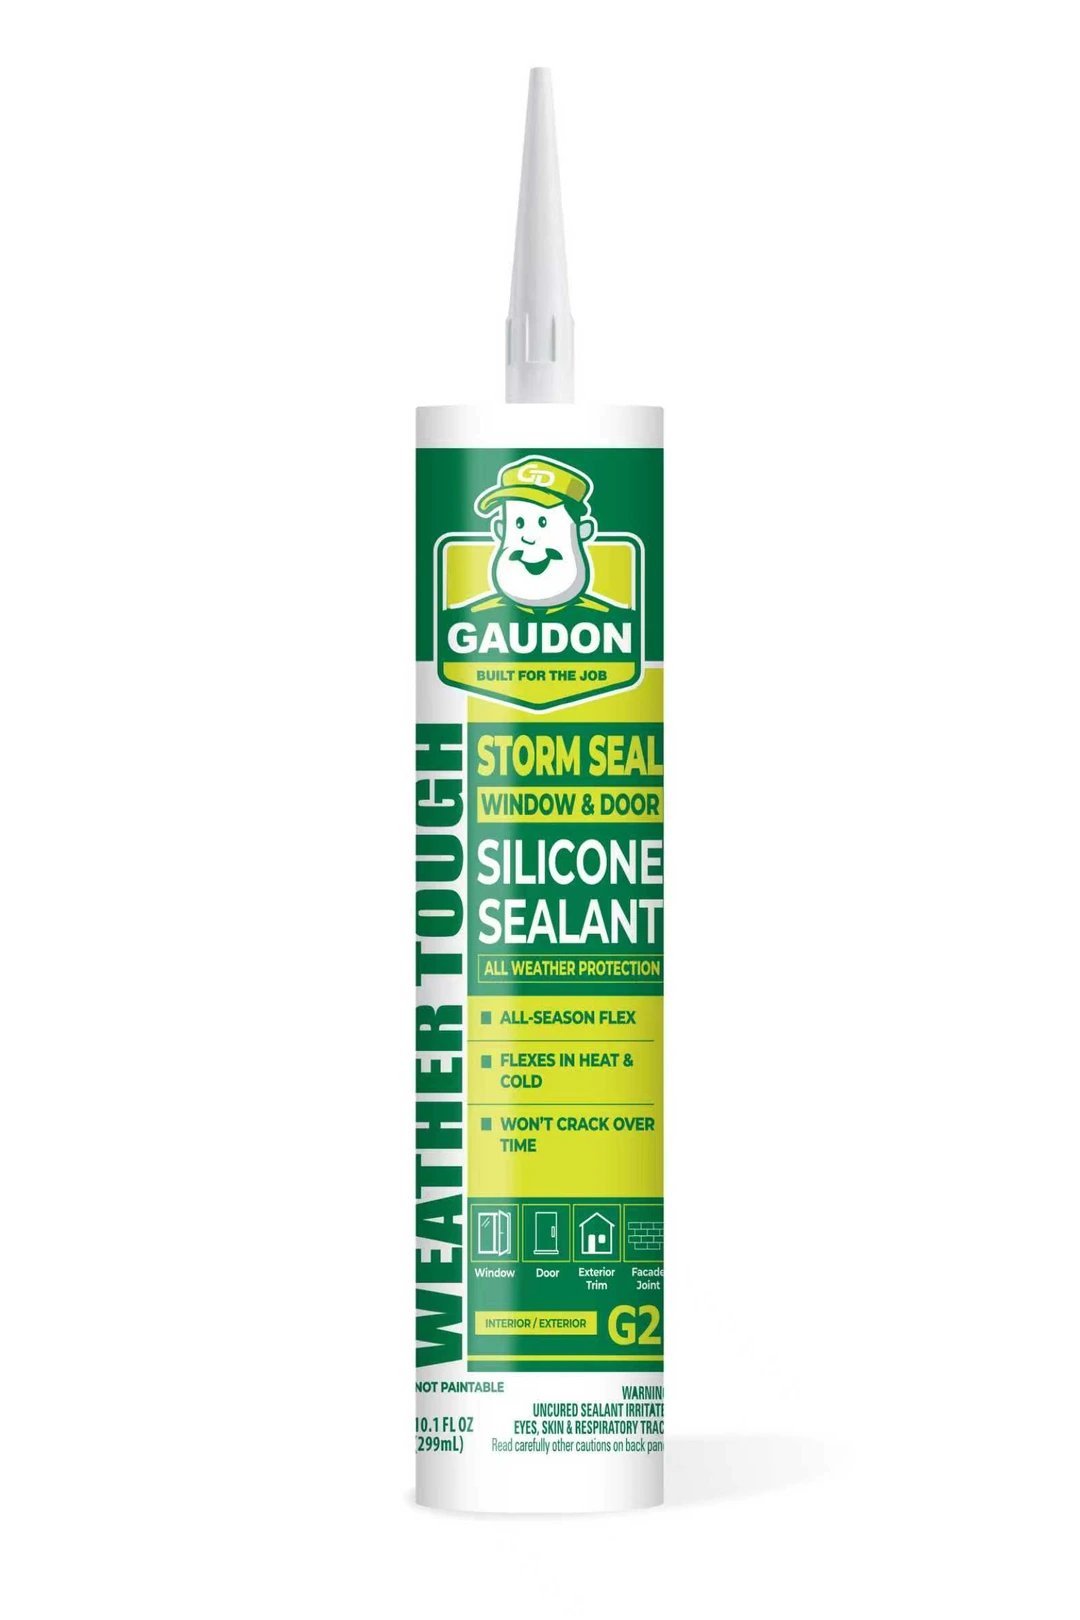
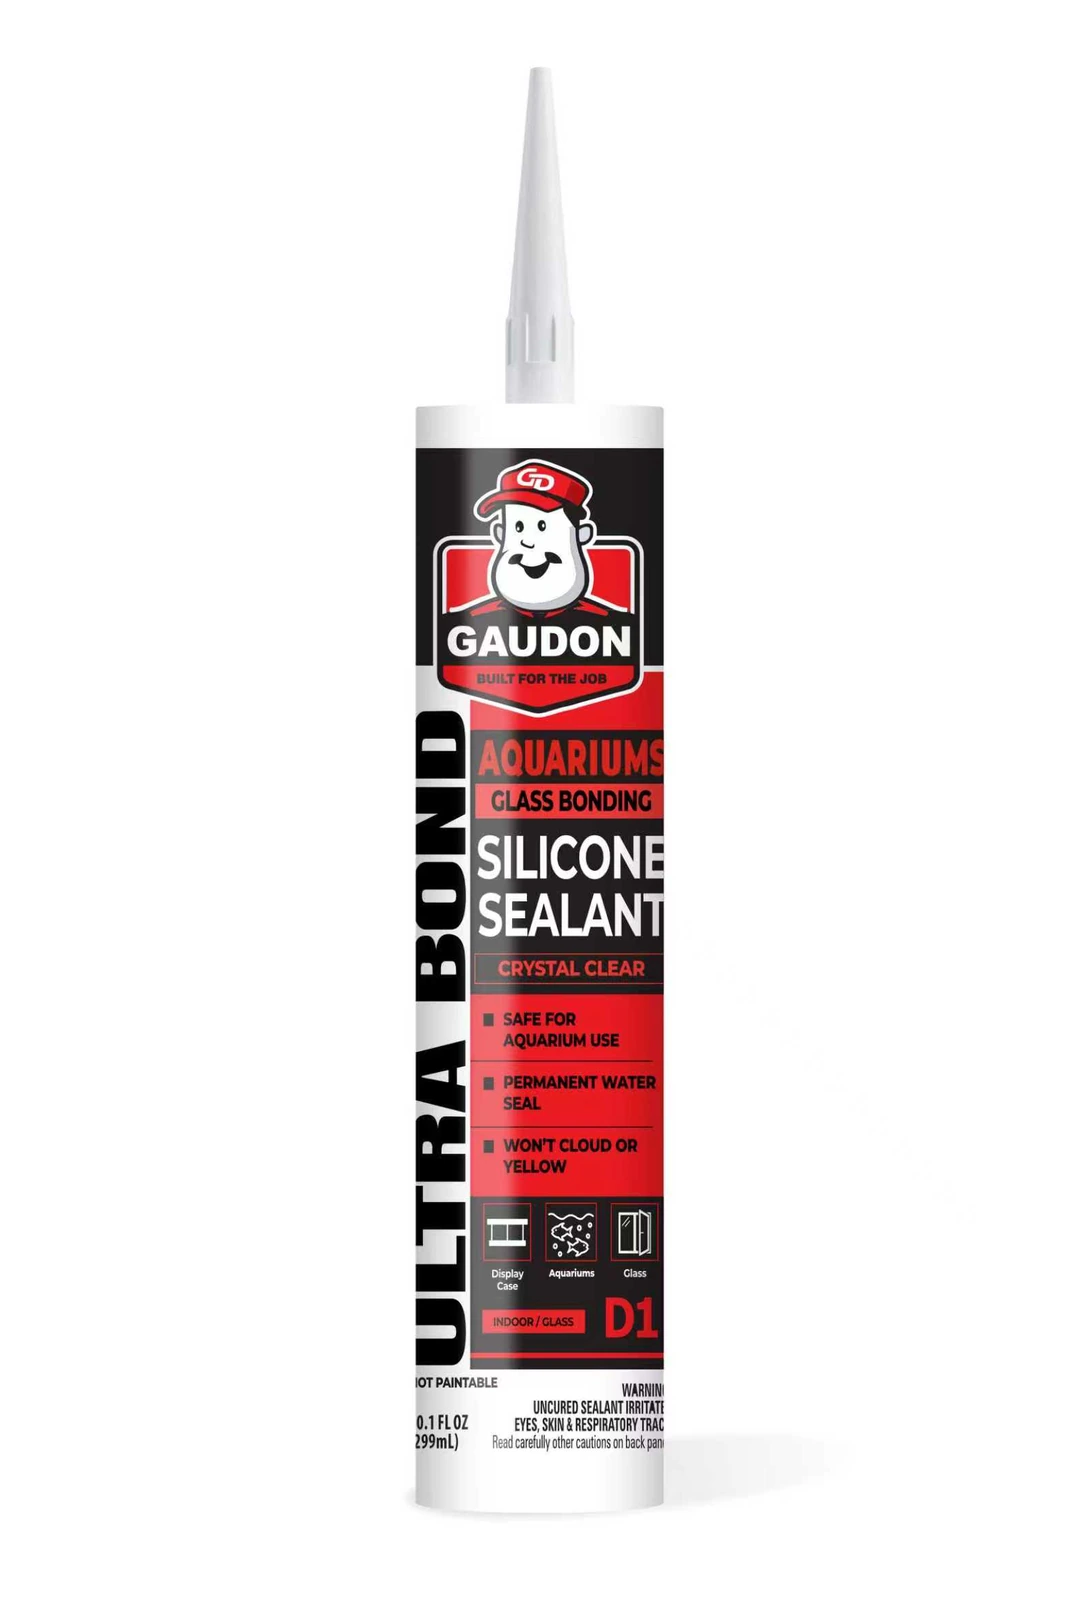
Professional-grade sealants built for the job.
Ready to put this on a job?
Samples ship to a business address for evaluation, case pricing is quoted directly, and the submittal builder assembles the data sheets a specification calls for.